
This how-to creates a Rental Asset in the Web Console. A Rental Asset temporarily grants a Player a set of Assets for a configurable duration — its setup is split across a Rental Content tab, where you define which Assets are granted, and a Rental Tiers tab, where you define one or more durations for the rental.
Prerequisites
- One or more Assets already created to grant through the Rental Asset (see Create & Configure an Asset).
Configure a Rental Asset Context
Before you create the Asset, configure a Rental Asset Context so LootLocker knows what and how you plan on using the Asset in your game.
An Asset Context is a way to group and describe Assets. All Assets must be assigned an Asset Context when being created. Defining the Context of an Asset lets your game know what type of Asset it is, and lets LootLocker know what sort of information or logic will be stored in the Asset and any special relationships it should have, for example with Character Classes and Default Loadouts.
The Context Configuration menu is in the Game Settings menu, accessible by clicking the Settings icon on the left bar of the Web Console.
Click the Context Configuration tab at the top of the Game Settings menu. You should be taken to a menu that looks like this.

To create a new Context, click the Add Context button. Since you want to create a Rental Asset, select Rental Asset from the Complexity dropdown menu.
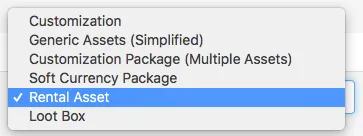
Next, fill in the rest of the information about the Context. A detailed explanation about each of the Context options can be found here.
- Name: Rental
- Friendly Name: (can leave this blank if the Friendly Name is the same as the Name)
- Detachable?: No
- User Facing?: Yes
- Depends On: Independent (No Asset)
Click Save Contexts to save this Context. It should now look like this:

Create the Rental Asset
Navigate to the Asset Manager to create the Rental Asset. The Asset Manager can be accessed by clicking the Content button in the left sidebar of the Web Console and selecting Assets.

To create an Asset, click the Add Asset button in the top right corner of the Asset Manager. Fill in an Asset Name and select the Rental Context from the dropdown menu. Click Create to create the Asset.
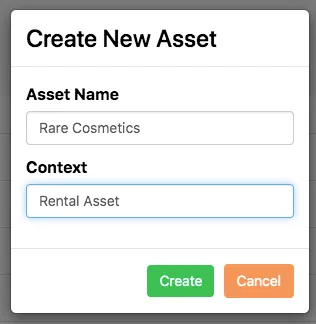
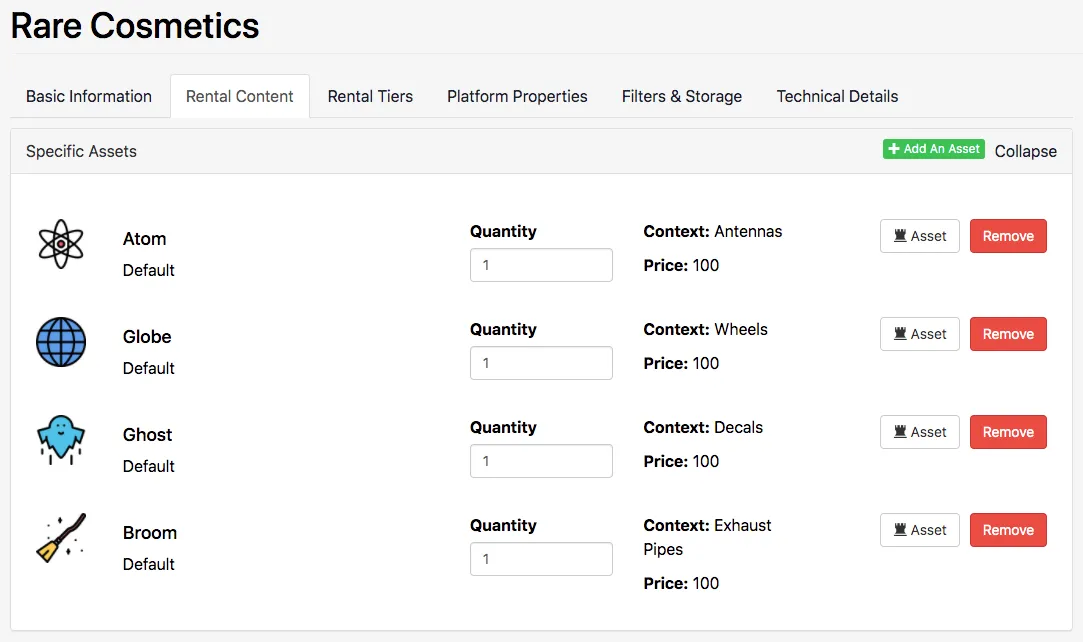
Once the Asset has been created, you're taken to the Asset's page, where you can see all of its stored information and data. The most important fields when setting up a Rental Asset are in the Rental Content and Rental Tiers tabs at the top of the Asset's page. This is where you define the content of the Rental Asset and the different rental periods available in the game.
First, navigate to the Rental Content tab and click Add an Asset to add an Asset to this Rental Asset. These are the actual Assets that are temporarily added to your Player's inventory when they own an active Rental Asset.
Configure Rental Tiers
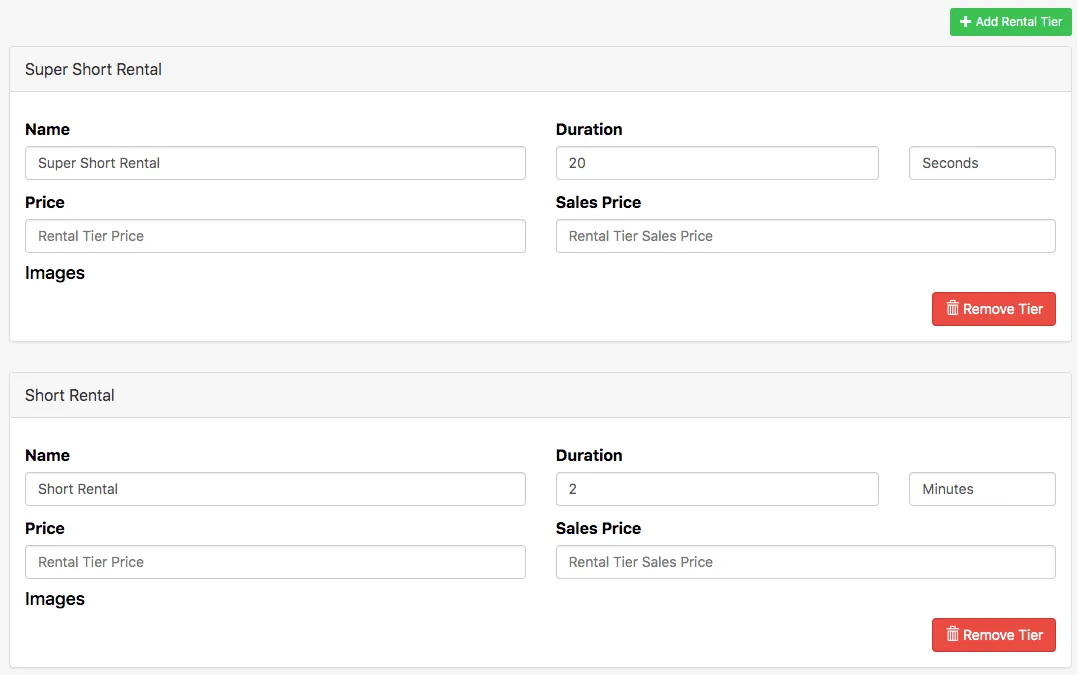
Create two rental tiers by navigating to the Rental Tiers tab and clicking Add Rental Tier. Each rental tier requires the following information:
- Name: The name of this specific tier, which is displayed in-game
- Duration: Enter a number and select a corresponding period (Seconds, Minutes, Hours, Days, etc.)
- Price: (Optional) Price in case the Asset is to be sold in-game
- Sales Price: (Optional) Discount price for the Asset
For the first rental tier, set a duration of 20 Seconds, and for the second rental tier, set a duration of 2 Minutes. This example doesn't set a Price or Sales Price. With everything set up, your rental tiers should look like this:
Activate the Asset
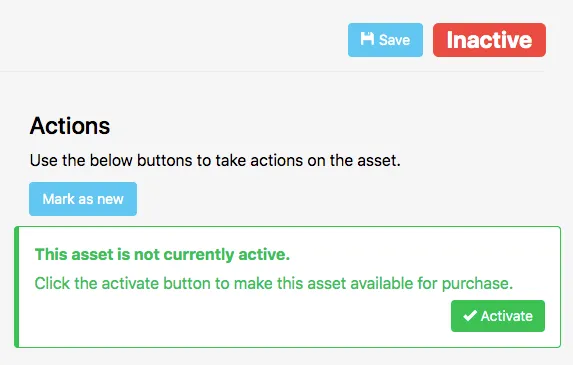
The final step is to activate the Asset so that it's sent to the game and Players can access it. To do this, click the Activate button on the right side of the Asset menu. Clicking Activate automatically activates and saves any changes you've made to the Asset.
Conclusion
You've created a Rental Asset with configurable rental tiers. Next, use the Rental Asset in your game to grant it to Players and activate their rental.