
This how-to creates a Catalog in the Web Console and adds Listings — the priced items and bundles players can purchase from it.
Prerequisites
Section titled “Prerequisites”- At least one Asset, Currency, or Progression configured in the Web Console to add to your Listings.
Create a Catalog
Section titled “Create a Catalog”In the Web Console, go to the Economy section and select Catalog from the Content menu.
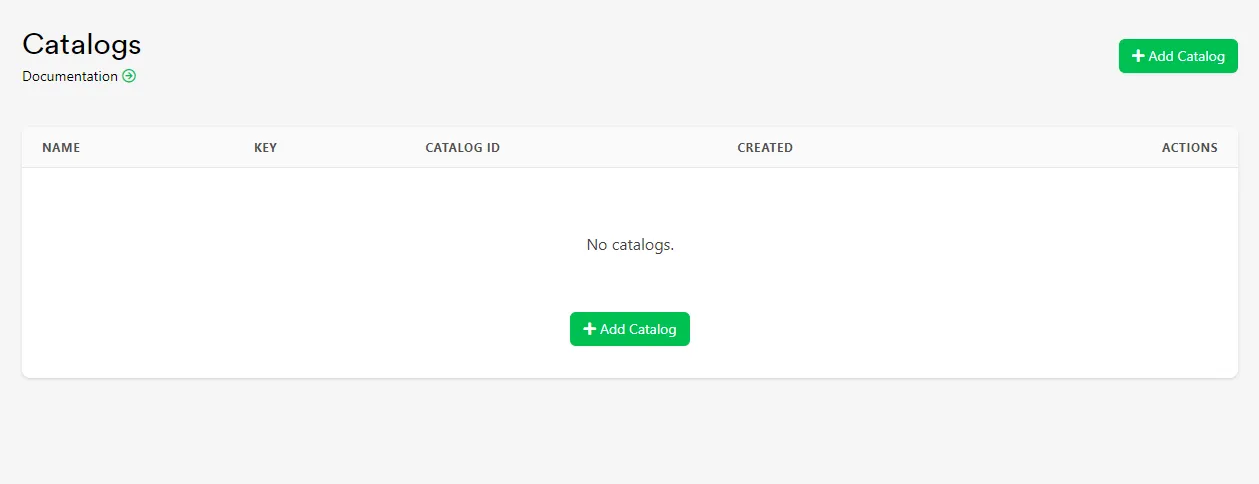
Click Add Catalog. When creating a new Catalog, you must supply a name and a key. The key automatically generates a suggestion, but you can overwrite it if you want a specific key.
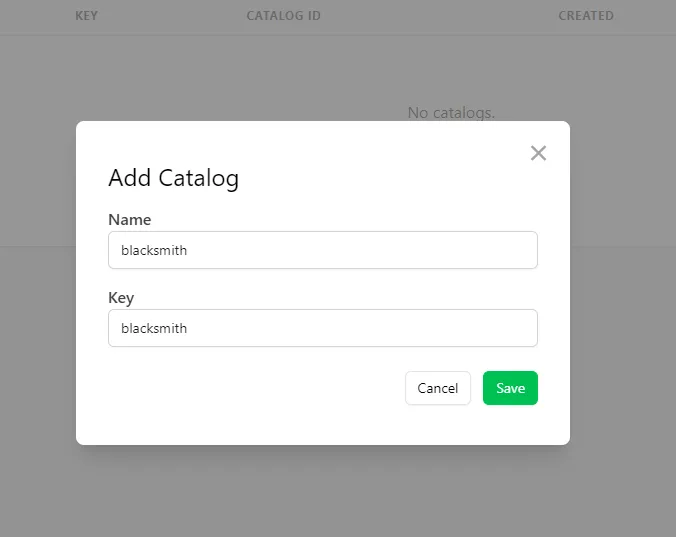
This example creates a Catalog named Blacksmith.
Create Listings
Section titled “Create Listings”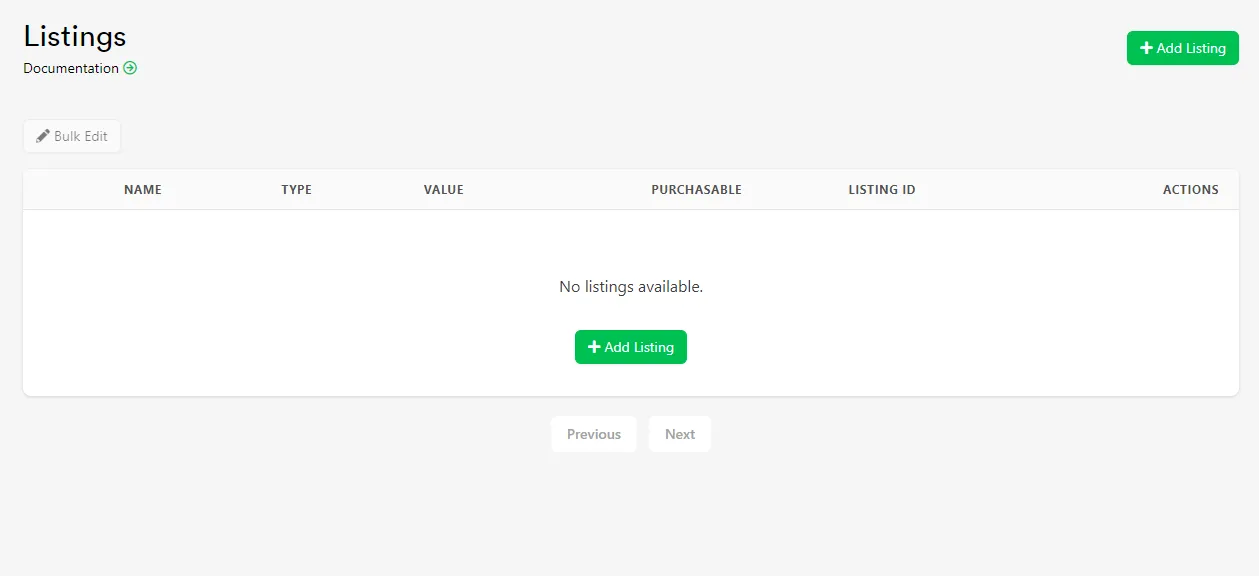
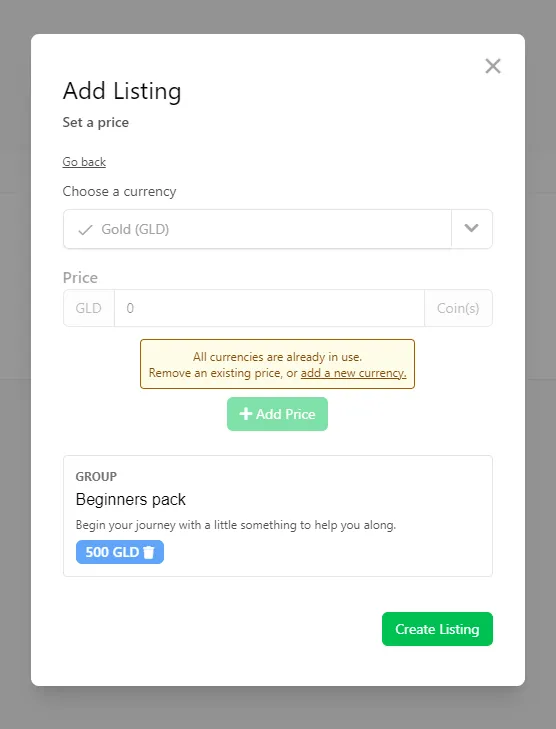
Click Add Listing. A Listing is what the Catalog contains — this can be an Asset, Currency, a Progression, a Progression Reset, or a group of any combination of these. This example creates a Beginners Pack that players can buy to get a head start.
Name the group, and optionally give it a short description.
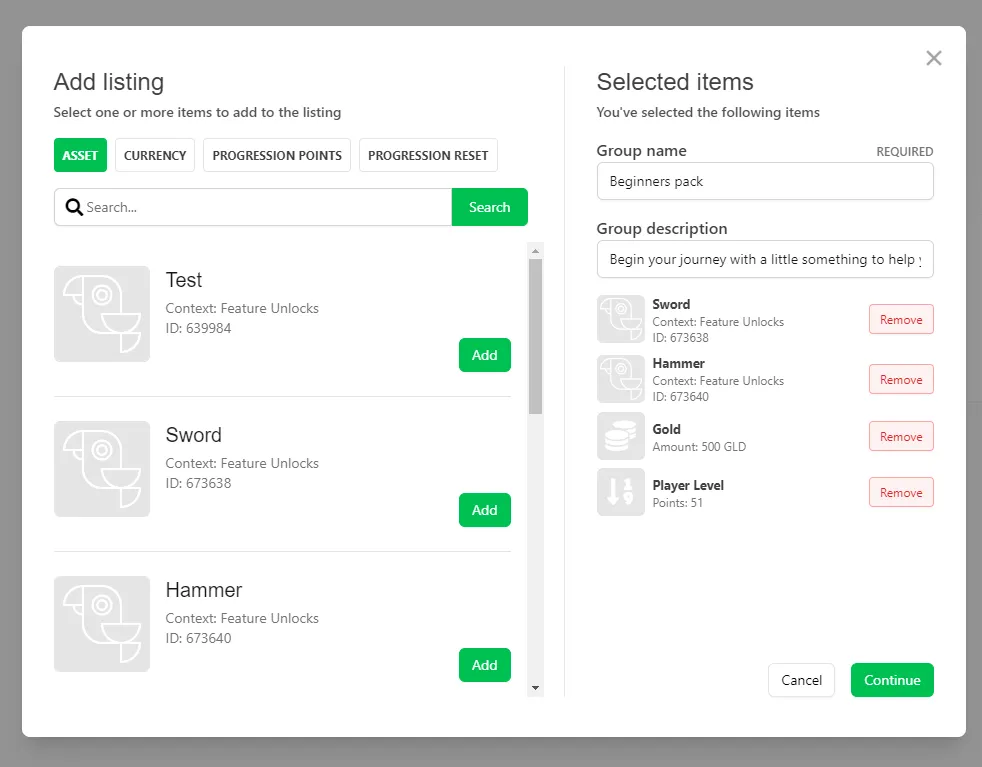
This example adds two Assets (a Sword and a Hammer), some gold, and some experience toward a level Progression. When a player purchases this group, they receive both Assets, the Currency, and the Progression Points.
Specify which Currency the price is in — a Listing can include multiple prices in different Currencies. You can also skip virtual Currency pricing entirely: click Create Listing without a price, then configure the IAP field afterward. Read more about this in Real Money Purchases.
Conclusion
Section titled “Conclusion”You've created a Catalog and added Listings to it. Next, add more Listings and create an in-game store, create more Catalogs and list all of them, or read more about Real Money Purchases.