
This how-to creates a Progression in the Web Console, adds a tier to it, and attaches a Reward.
Prerequisites
Section titled “Prerequisites”No prerequisites.
Create a Progression
Section titled “Create a Progression”In the Web Console, select Progressions from the Game Systems menu.
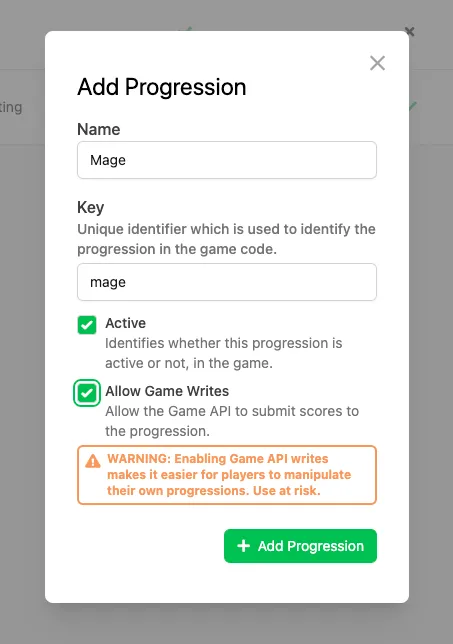
Click Create in the top right corner to open the Progression modal, where you set the following:
- Name: The name of the Progression, used to display it in your game.
- Key: Used to retrieve the Progression from your game instead of using its ID.
- Allow Game Writes: Authorizes the Game API to submit points to the Progression directly. This isn't recommended, since players can exploit it to add points to their own Progressions.
- Active: Determines if the Progression is active. Inactive Progressions can't be interacted with from your game. This can be toggled from the Web Console at any time.
These settings can also be edited after the Progression is created.
Add a Tier
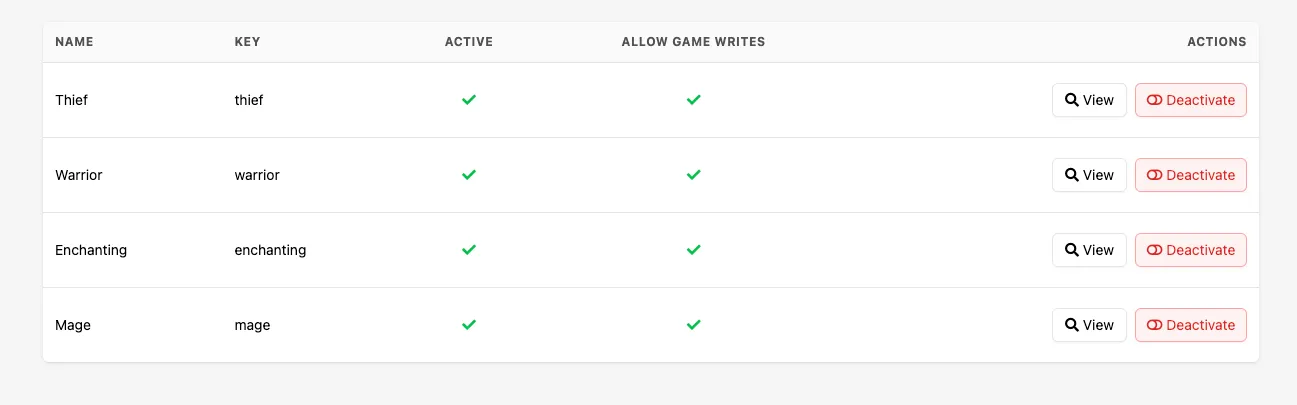
Section titled “Add a Tier”Your Progression now appears in the Progressions list. Click View to open it.
The system automatically creates a first tier with a 0-point threshold, which can't be deleted.
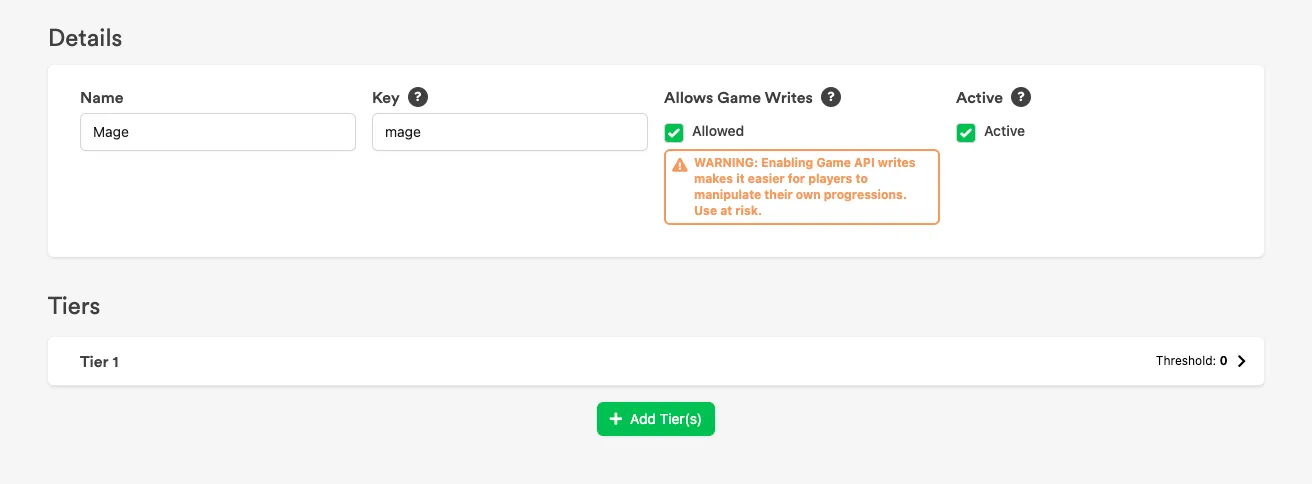
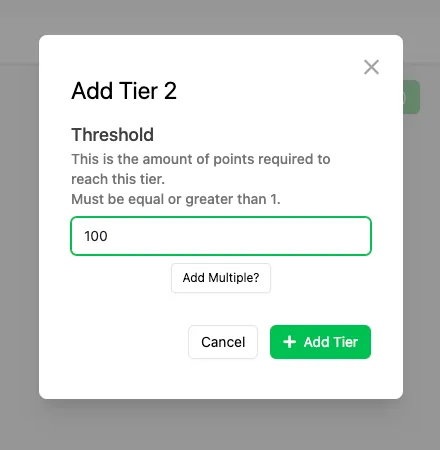
Click Add Tier(s) to add a second tier, and set it to require 100 points to unlock.
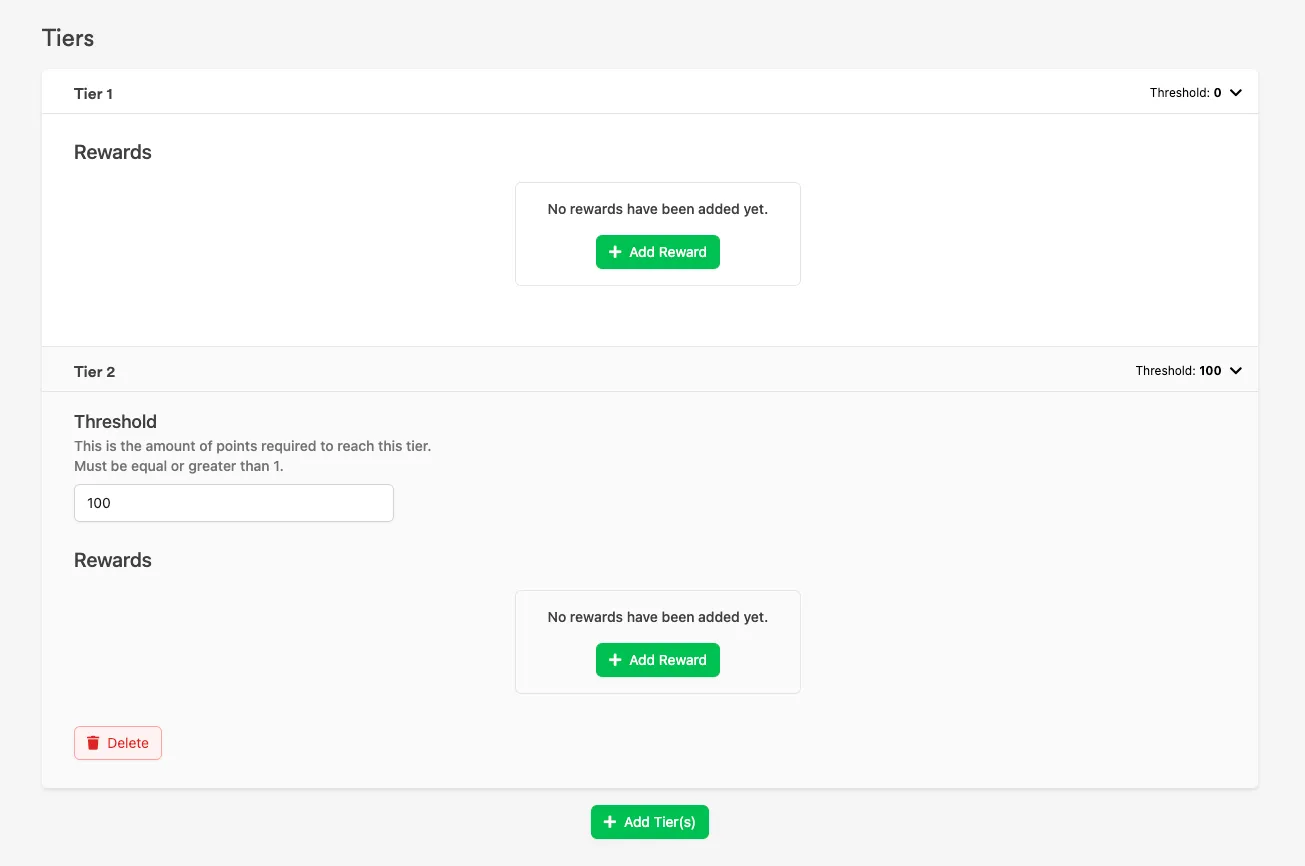
Your Progression now has 2 tiers.
Add a Reward to a Tier
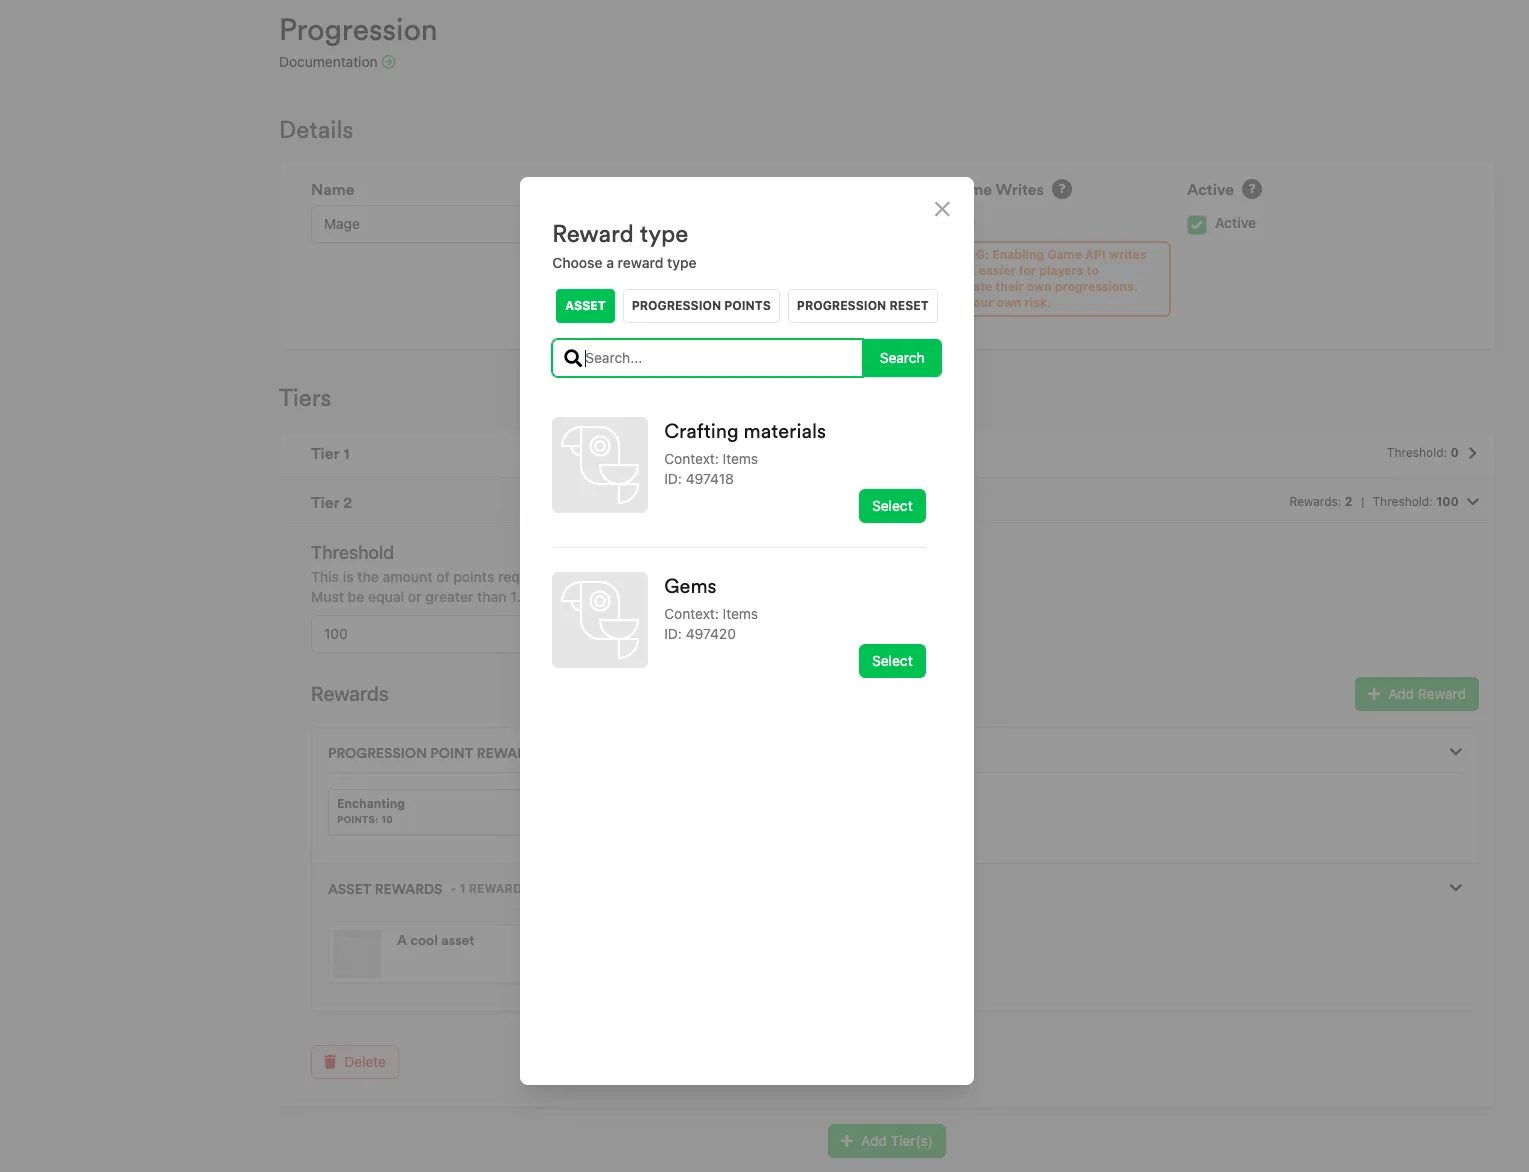
Section titled “Add a Reward to a Tier”Expand a tier and click Add Reward, then select a Reward type and choose a Reward from the list.
Conclusion
Section titled “Conclusion”You've created a Progression with a tier and Reward in the Web Console. Next, apply it to a Player, Character Class, or Asset Instance, or read Progression data from your game.