
This how-to grants a Player a specific Rental Asset tier and activates it from your game.
Prerequisites
- Unity, Unreal, or Godot SDK installed and configured in your project (not required for REST).
- An active Player session (see Authentication).
- A Rental Asset created in the Web Console, with at least one rental tier configured (see Create a Rental Asset).
Specifying Rental Tier
Since a Rental Asset can have multiple tiers, it's important to grant the correct tier for your purpose. This example uses a Rental Asset that increases a Player's Strength for a limited time, and distributes it through a Trigger.
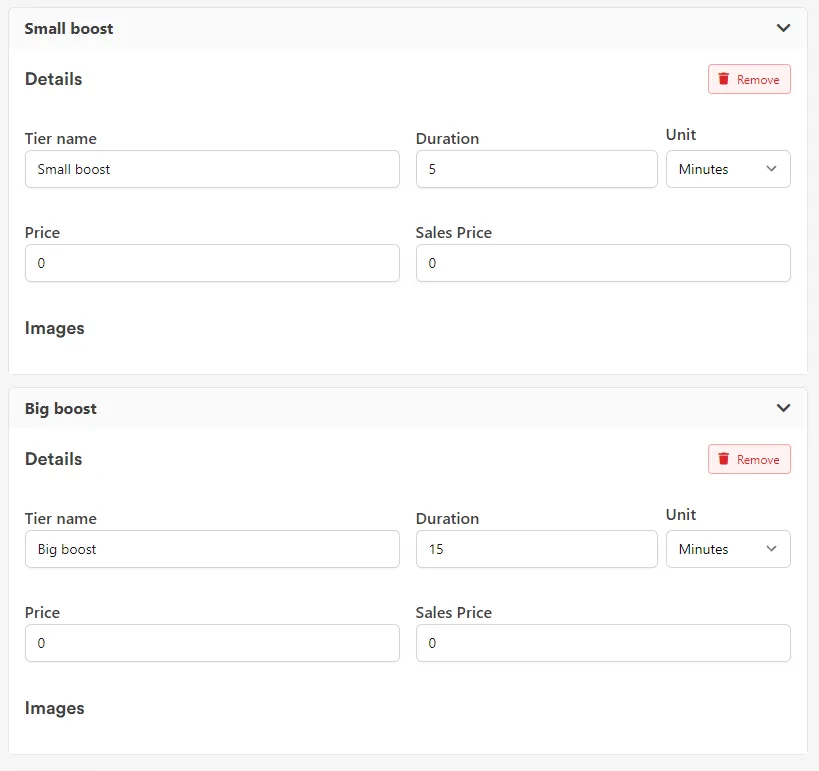
Here there are two tiers, Small boost and Big boost, with different durations.
In the Trigger, choose Add Reward and find the Rental Asset (named Extra Strength in this example) — the different tiers show up below it. Select the tier you want to grant, and it's granted to the Player once the Trigger fires.
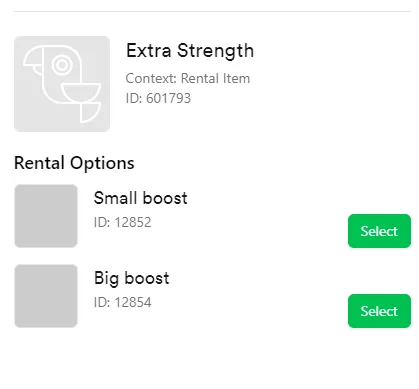
After the Player has received the Rental Asset, activate it from your game to start the rental period.
Activate Rental Asset
To activate a Rental Asset that a Player possesses, call this method:
private int assetInstanceID = 86;
LootLockerSDKManager.ActivateRentalAsset(assetInstanceID, (response) =>{    if (response.success)    {        Debug.Log("Successfully activated rental asset");    }    else    {        Debug.Log("Error activating rental asset");    }});
See the Reference Documentation for the full response.
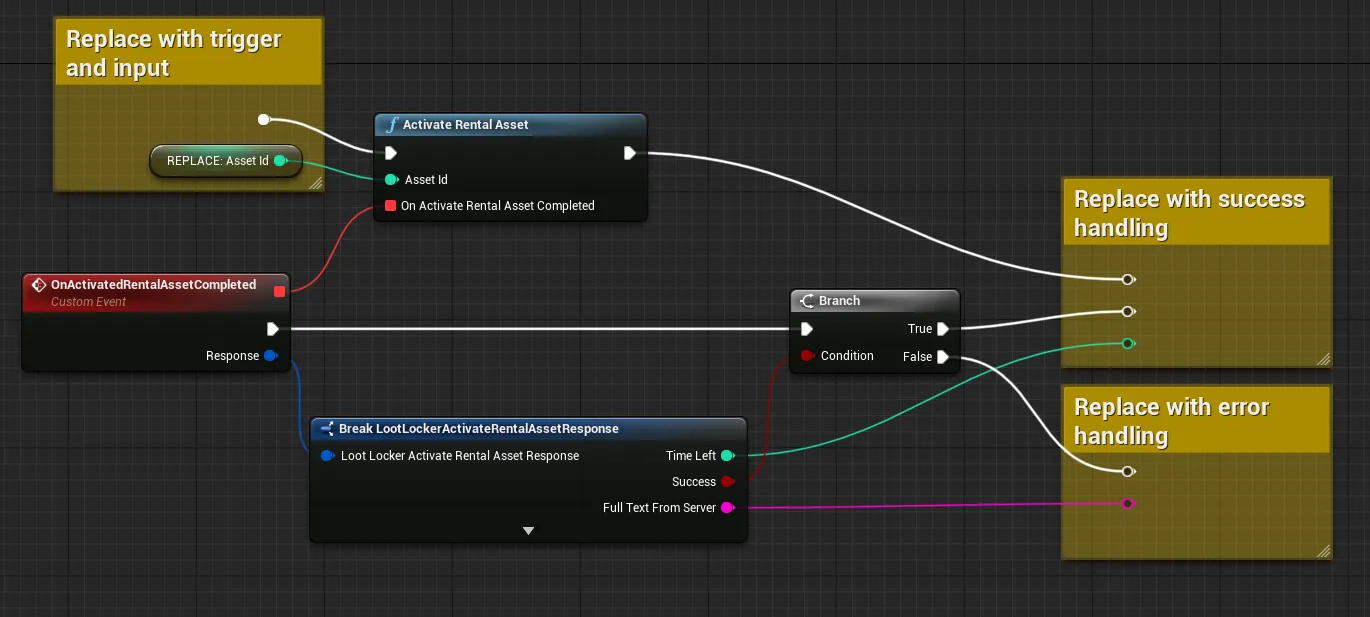
Coming soon — this sample hasn't been written yet. In the meantime, refer to the Reference Documentation for this endpoint.
Coming soon — this sample hasn't been written yet. In the meantime, refer to the Reference Documentation for this endpoint.
Conclusion
You've granted a Player a Rental Asset tier and activated it from your game. Next, review Check Grant Notifications to confirm what was granted.