
This how-to creates a DLC in the LootLocker Web Console and links it to Assets so the DLC can be granted through a first-party platform.
Prerequisites
- A DLC or product identifier already created on the first-party platform you're linking (for example, a Steamworks App ID, an Xbox DLC ID, or a PlayStation Entitlement ID).
- At least one Asset created in your game to add to the DLC.
Create a DLC
The DLC menu is in the Content sidebar menu, under DLC.
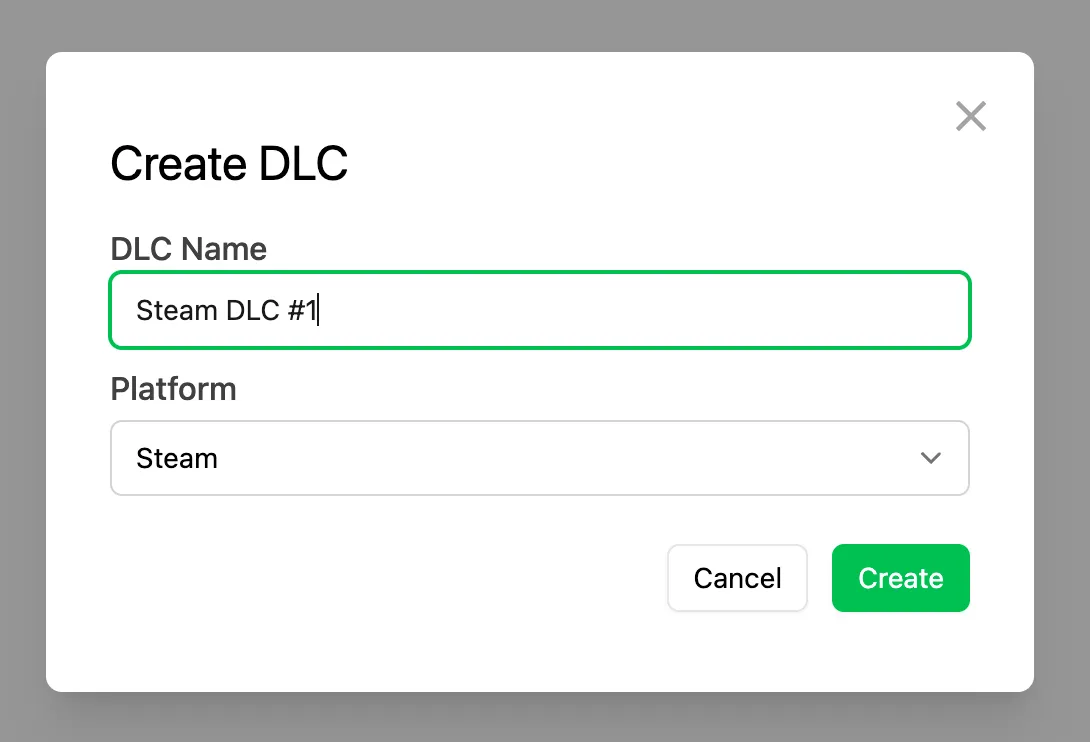
Click Add DLC, enter the DLC's name, and select which platform to connect the DLC to in the modal that appears. Once created, fill in the following fields:
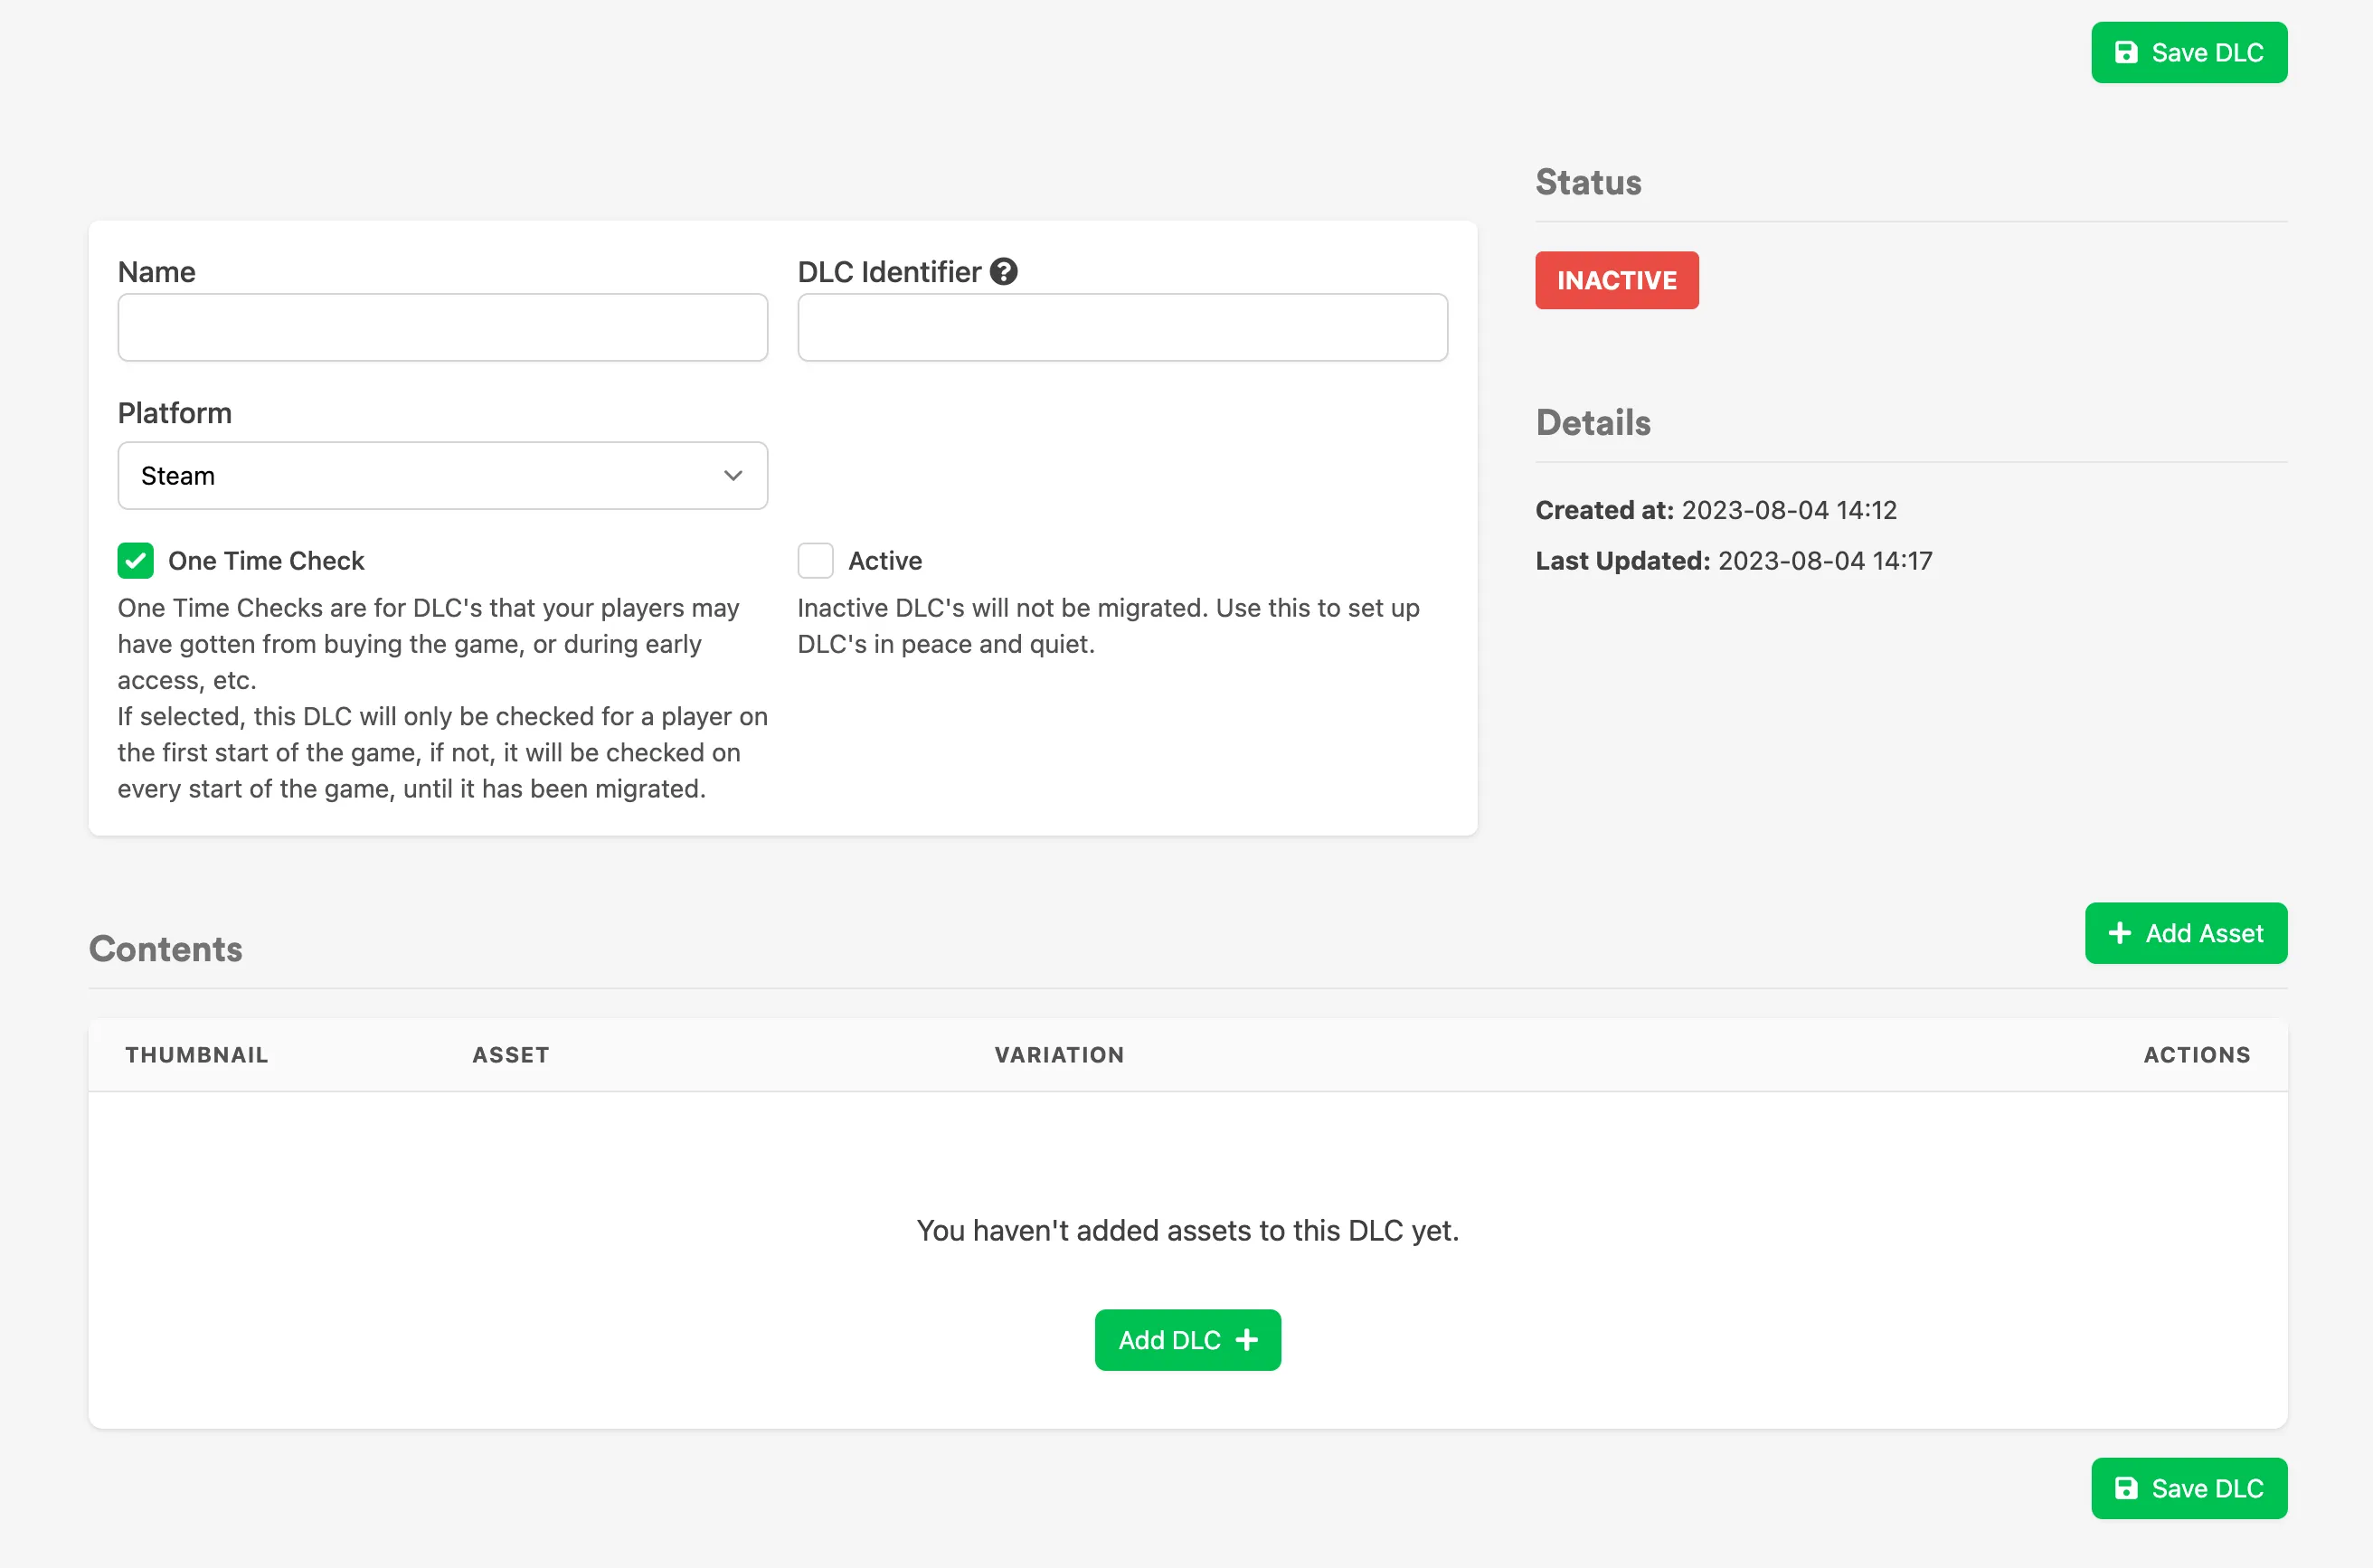
- Name: the name of the DLC.
- DLC Identifier: the identifier or app ID assigned to the DLC by the first-party platform.
- Platform: the first-party platform this DLC connects to.
- Created: the date the DLC was created.
- Updated: the most recent date the DLC was edited.
- Active: sets the DLC as Active or Inactive. While Inactive, LootLocker won't check for this DLC's migration.
- Contents: the list of Assets added to the DLC.
Add Assets to the DLC
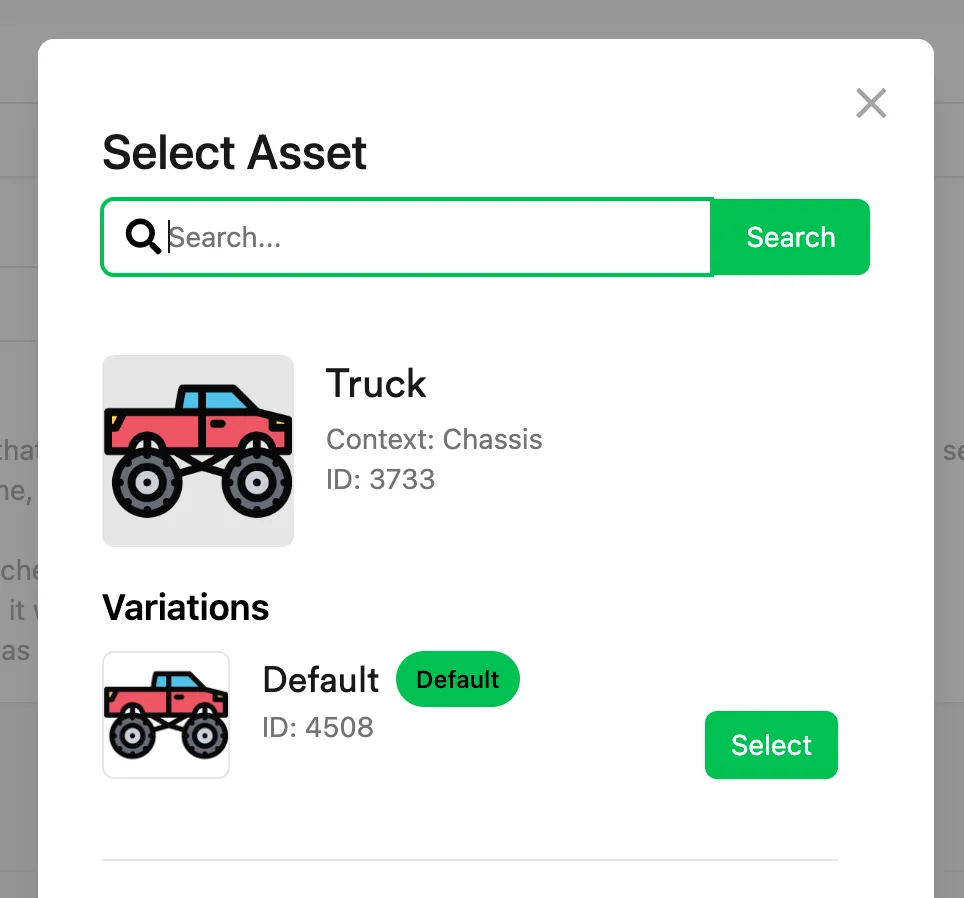
Click Add Asset in the DLC's Contents section, then search for and select an Asset from the modal.
Conclusion
You've created a DLC in the Web Console and linked it to Assets. Next, implement DLC migration in your game so players receive their entitled content.