
This how-to creates a Trigger in the Web Console and configures its limits, Player Segments, and Rewards.
Prerequisites
Section titled “Prerequisites”- Something to reward players with, of any Reward Type.
Create a Trigger
Section titled “Create a Trigger”In the Web Console, select Triggers from the Game Systems menu.
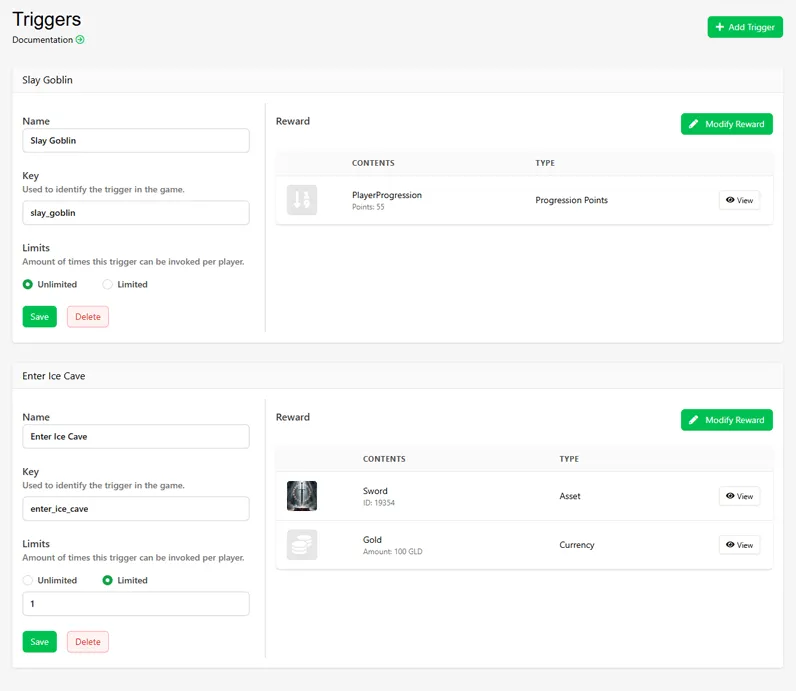
Click Add Trigger and provide the following:
- Name: A name for the Trigger.
- Key: The key used to invoke this Trigger from your game.
Set Trigger Limits
Section titled “Set Trigger Limits”- Unlimited: The player can invoke this Trigger as many times as they want.
- Limited: The player can invoke this Trigger up to the limit you set.
Add Player Segments
Section titled “Add Player Segments”Player Segments let you target a Trigger to specific groups of players based on their behavior, activity, platform usage, or play history. To activate a Trigger, a player must qualify for all conditions within a single Segment. If multiple Segments are added to a Trigger, they're evaluated as an OR condition — a player only needs to qualify for one of the attached Segments to receive the Trigger Reward.
To add a Segment, click Add Segment. To learn more about configuring Segments, see the Player Segments documentation.
Add Rewards
Section titled “Add Rewards”Click Add Reward to open the Rewards modal. Select a single Reward from the list of available Rewards, or select multiple Rewards to create a Reward Group. Any Reward Type can be used. To learn more about configuring Rewards, see the Rewards documentation.
Once you're done selecting Rewards, click Save to enable the Trigger for use in your game.
Conclusion
Section titled “Conclusion”You've created a Trigger in the Web Console and added Rewards and Player Segments to it. Now that you have a Trigger, invoke it from your game.