
This how-to creates a Loot Box Asset in the Web Console. A Loot Box uses weighted rarity groups populated with existing Assets — when a Player opens it, LootLocker randomly selects a rarity group by weight, then randomly selects one Asset from within that group to grant.
Prerequisites
- One or more Assets already created to populate the Loot Box's rarity groups (see Create & Configure an Asset).
Configure a Loot Box Context
Before you create the Asset, configure a Loot Box Asset Context so LootLocker knows what and how you plan on using the Asset in your game.
An Asset Context is a way to group and describe Assets. All Assets must be assigned an Asset Context when being created. Defining the Context of an Asset lets your game know what type of Asset it is, and lets LootLocker know what sort of information or logic will be stored in the Asset and any special relationships it should have, for example with Character Classes and Default Loadouts.
Open Content Management in the sidebar of the Web Console, select Assets, then open the Contexts tab.
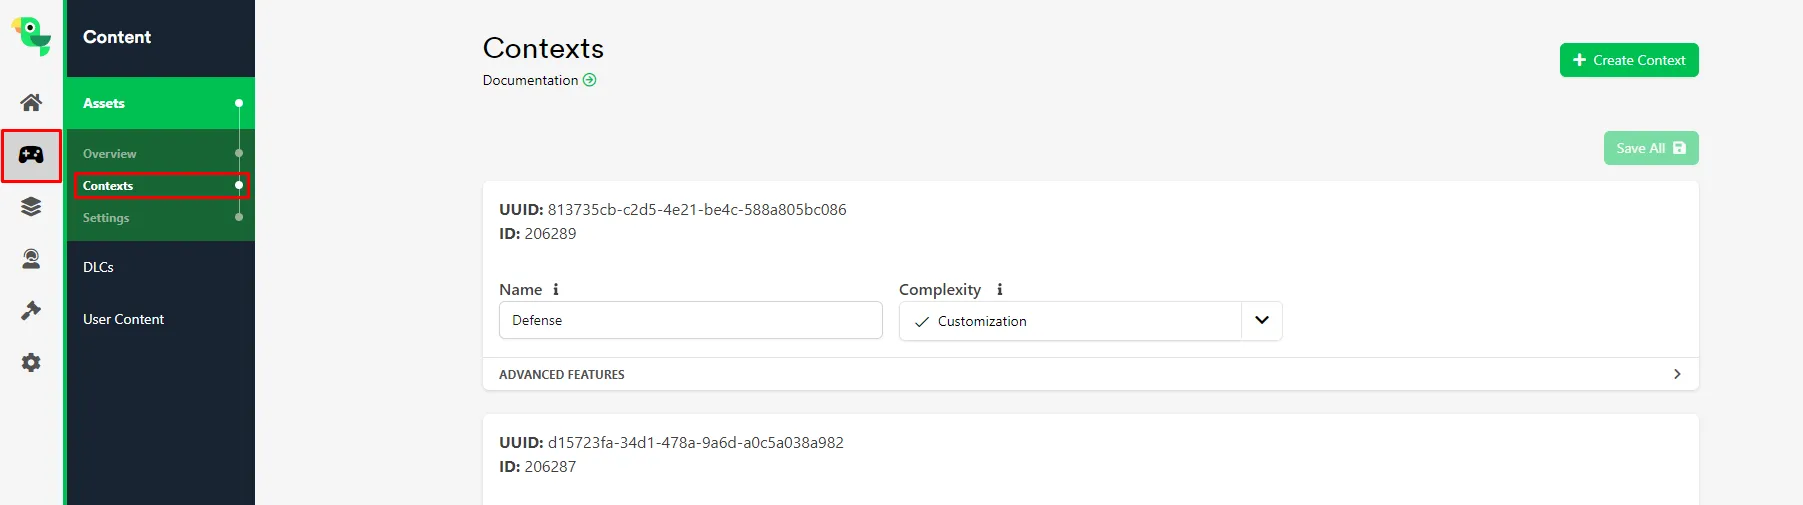
You should be taken to a menu that looks like this.
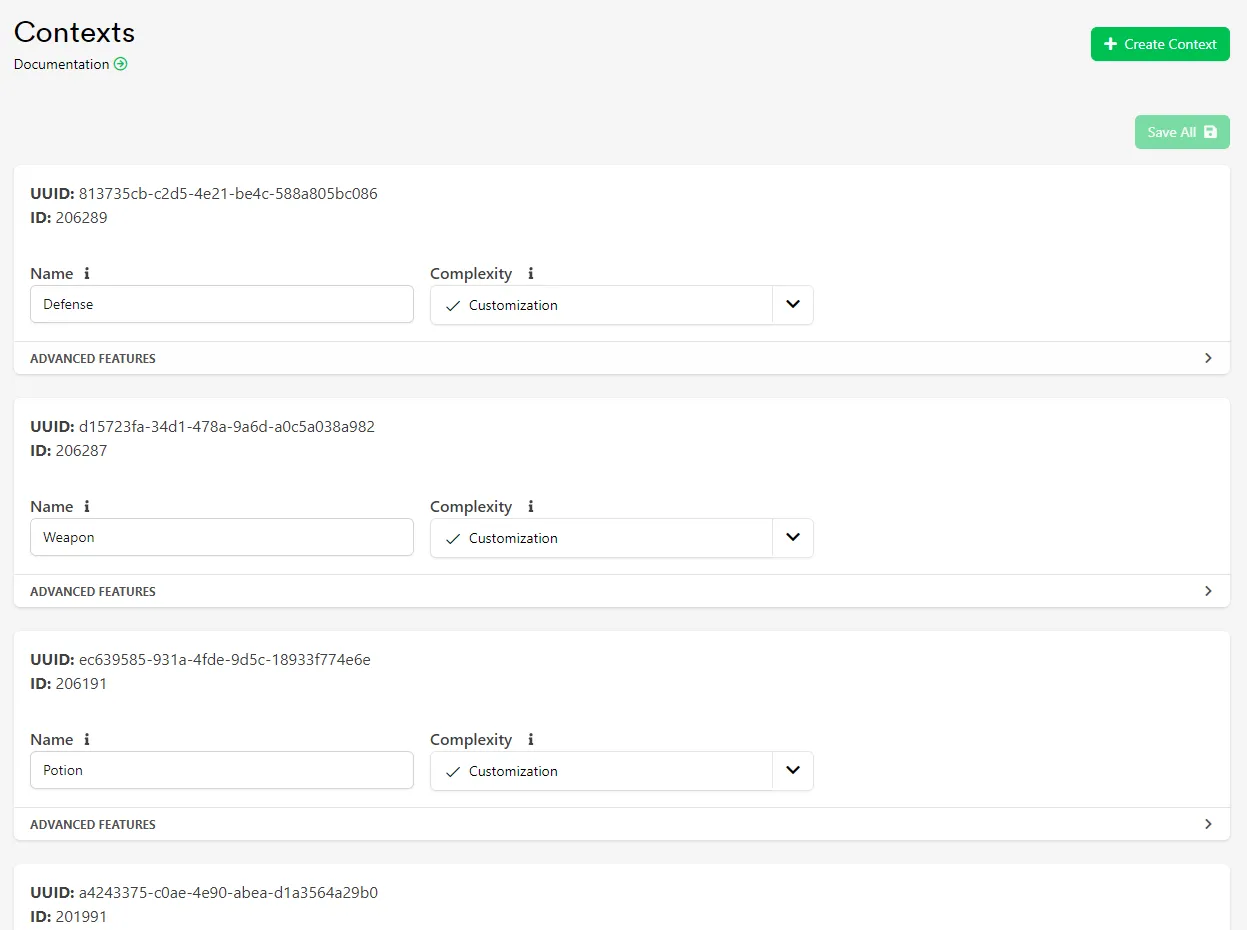
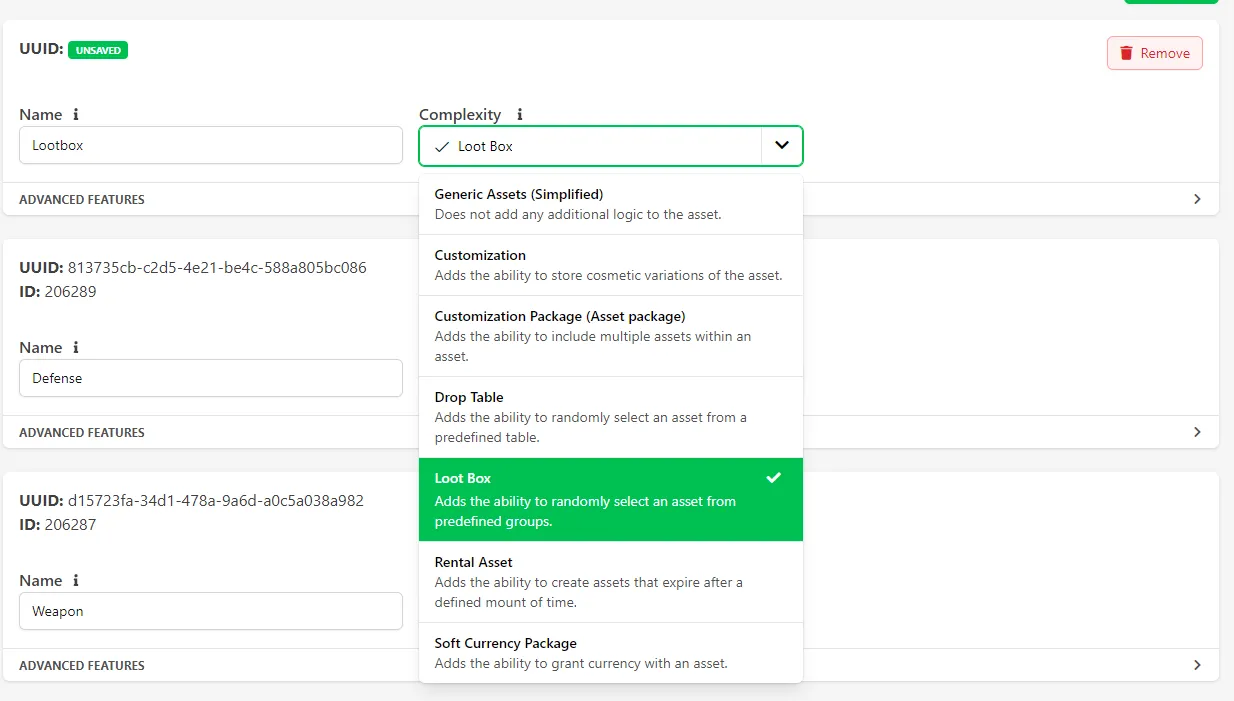
To create a new Context, click the Add Context button. Since you want to create a Loot Box Asset, select Loot Box from the Complexity dropdown menu.
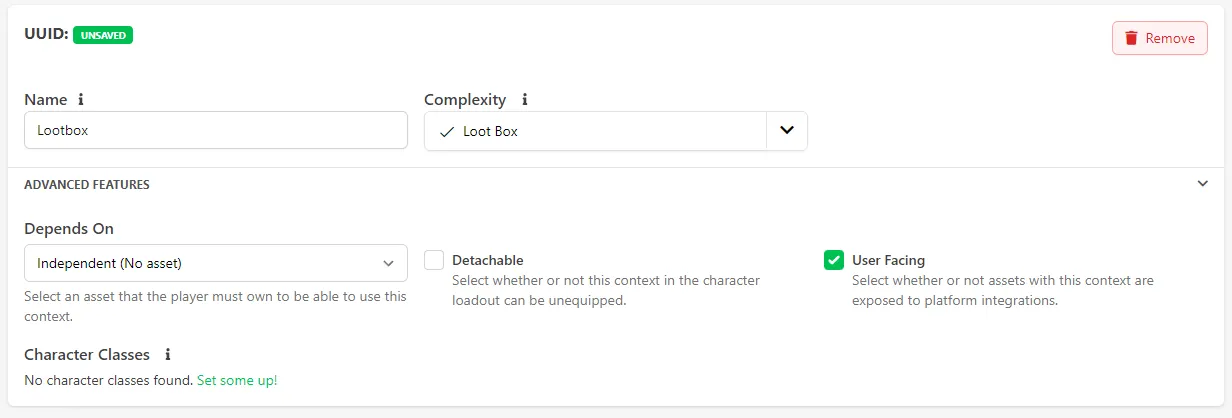
Next, fill in the rest of the information about the Context. Click on Advanced Features. A detailed explanation about each of the Context options can be found here.
- Name: Loot Box
- Detachable?: No
- User Facing?: Yes
- Depends On: Independent (No Asset)
Click Save Contexts to save this Context. It should now look like this:
Create the Loot Box Asset
Navigate to the Asset Manager to create the Loot Box Asset. The Asset Manager can be accessed by clicking the Content icon in the left sidebar of the Web Console and selecting Assets.
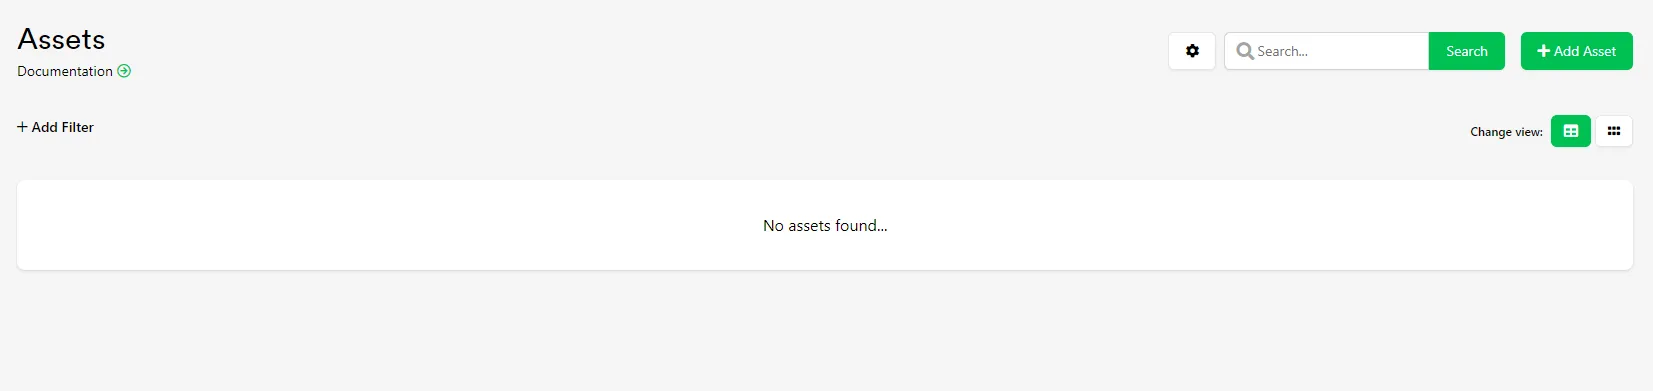
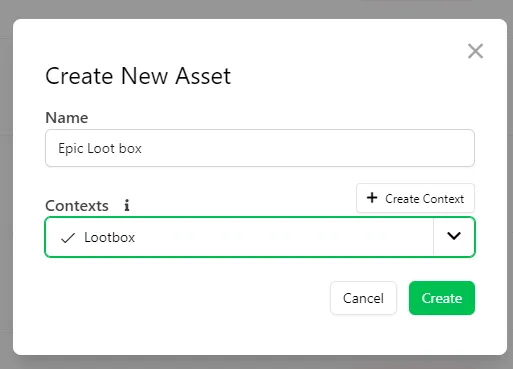
To create an Asset, click the Add Asset button in the top right corner of the Asset Manager. Fill in an Asset Name and select the Loot Box Context from the dropdown menu. Click Create to create the Asset.
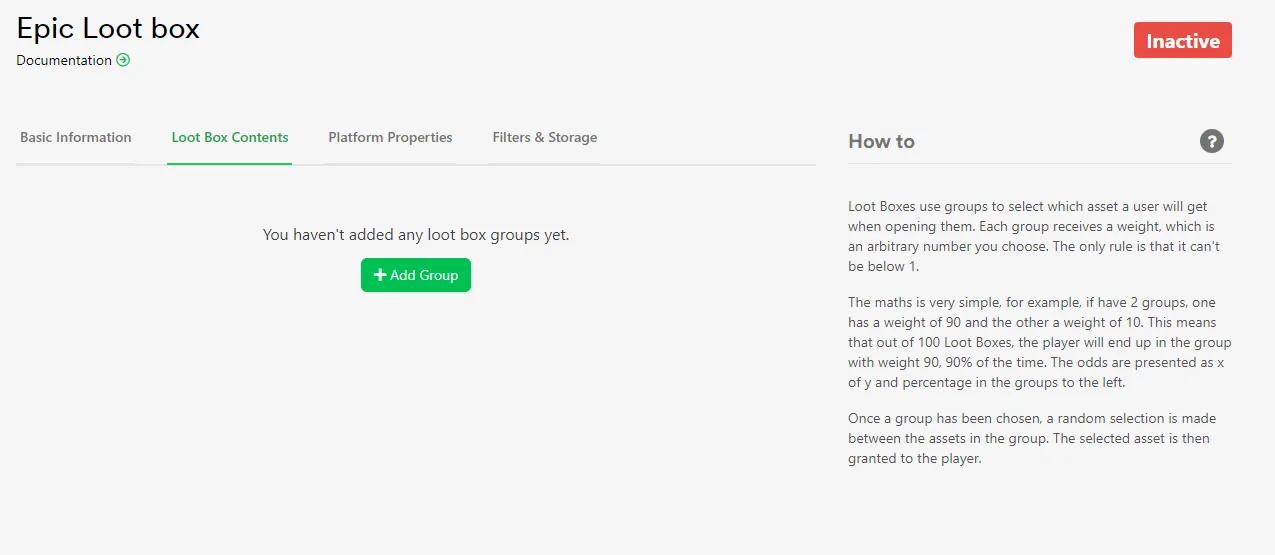
Once the Asset has been created, you're taken to the Asset's page, where you can see all of its stored information and data. The most important fields when setting up a Loot Box are in the Loot Box Contents tab at the top of the Asset's page. This is where you define the content of the Loot Box by creating rarity groups, then assigning those groups a rarity weight.
Add Rarity Groups
In the Loot Box Contents tab, click Add Group to create your first rarity group.
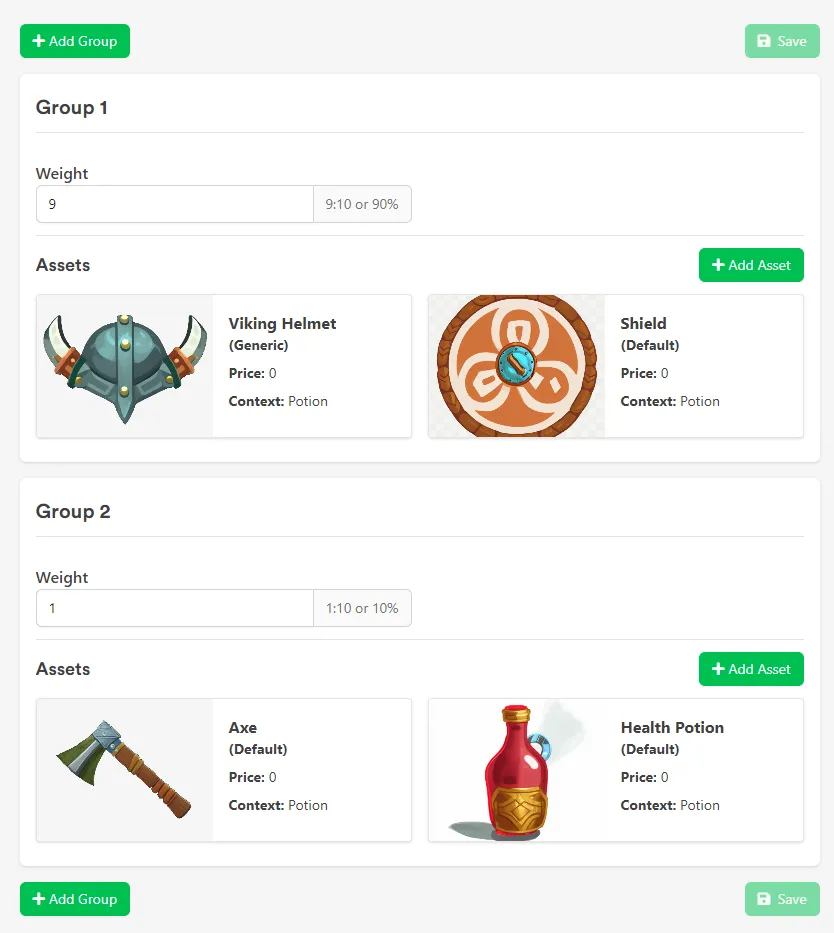
Click Add Asset within a group to add an Asset to it. This opens a search dialog where you can find and select from your Assets. Groups can have as many or as few Assets as you want — it's up to you and how you want the Loot Box to work. For example, create two groups, with two Assets in each group. Here's how it looks set up:
Now set the rarity weight of each group. To do this, enter a whole number greater than 0 into the Weight field of each group. As you enter a number, you'll see the rarity ratio and percentage change. This shows how likely it is that this group will be selected when the Loot Box is opened by the Player.
For this Loot Box, set the weight of the first group to 9 and the second group to 1, so that the chance of receiving an Asset from the first group is 90% and the chance of receiving an Asset from the second group is 10%.
Activate the Asset
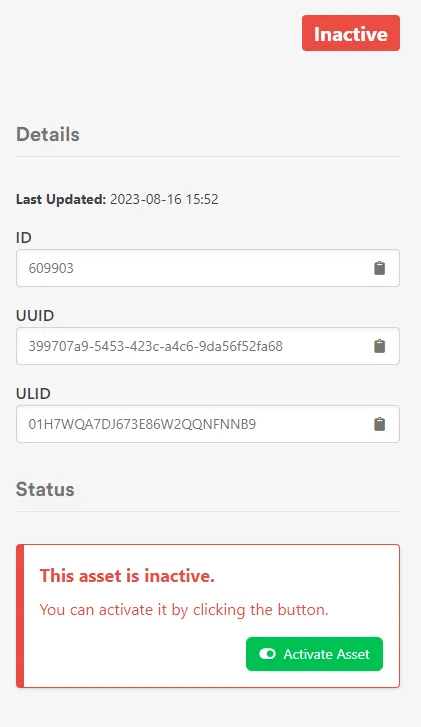
The final step is to activate the Asset so that it's sent to the game and Players can access it. To do this, click the Activate button on the right side of the Asset menu. Clicking Activate automatically activates and saves any changes you've made to the Asset.
Conclusion
You've created a Loot Box Asset with weighted rarity groups. Next, implement the Loot Box in your game to let Players open it and receive Assets.