
This how-to creates, configures, and edits a broadcast targeted at a catalog of games, with multiple scheduled publication times and localized content in several languages.
Prerequisites
Section titled “Prerequisites”No prerequisites.
Broadcast Menu
Section titled “Broadcast Menu”You'll find Broadcasts under Player Operations in the Web Console sidebar. From here, you can:
- View a summary of existing broadcasts
- Create new broadcasts
- Edit or delete existing broadcasts
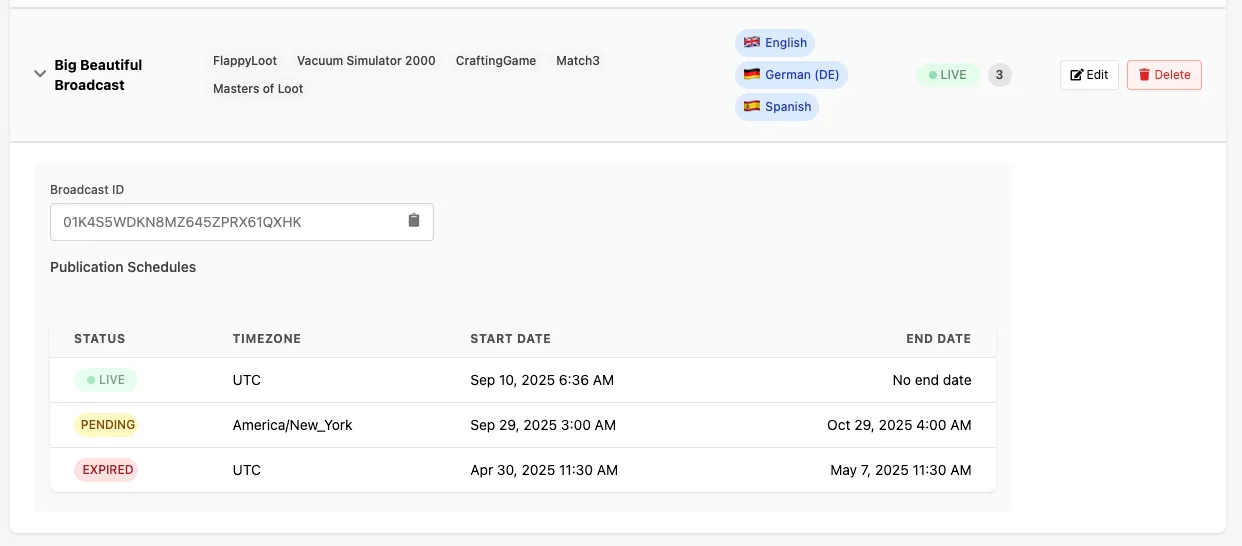
Each broadcast entry shows:
- Broadcast name (only used for internal identification)
- Target game(s) (select from all games within your LootLocker organization)
- Localized language(s)
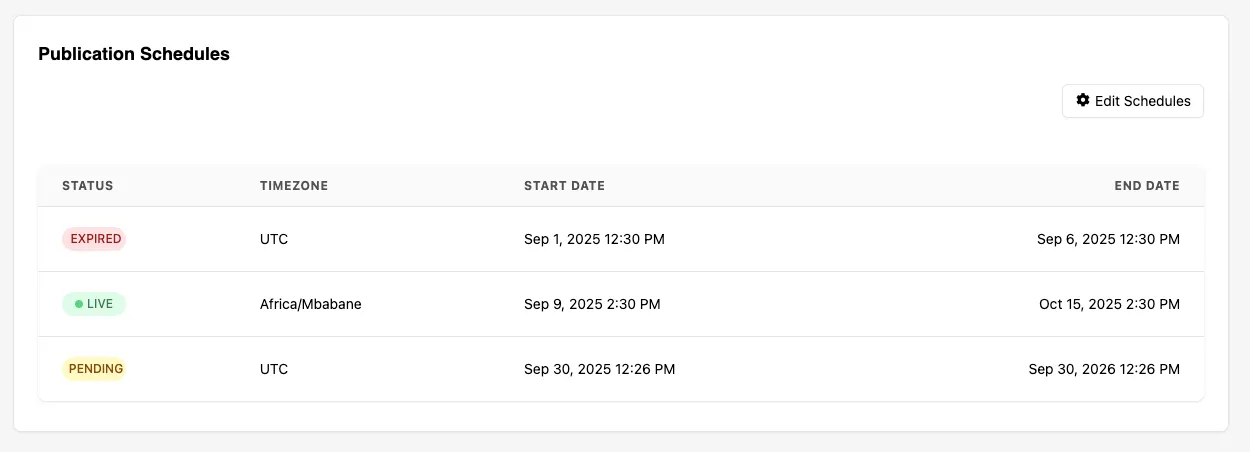
- Number of publication schedules, with their status (live, pending, expired)
Clicking a broadcast expands its details, including the Broadcast ID (used in API calls) and full publication schedule information.
Creating a Broadcast
Section titled “Creating a Broadcast”To create a new broadcast, click Create New Broadcast.
You'll be asked to provide:
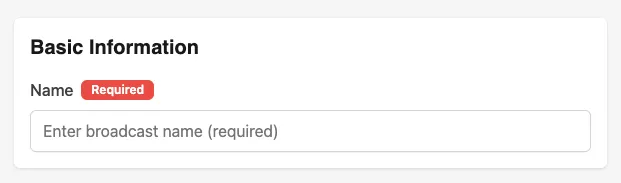
- Name (Required): internal name for the broadcast (not visible to players).
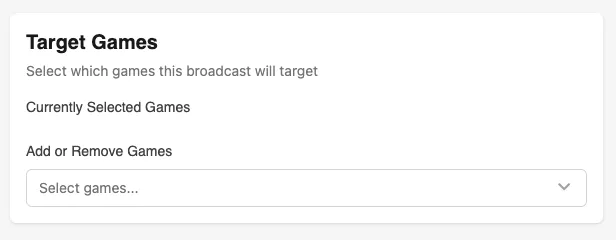
- Target Games (Required): select which game(s) will receive the broadcast. At least one game must be selected.
- Publication Settings: set at least one publication schedule with a start date (required) and optional end date. The default schedule must be in UTC (all players default to UTC if no timezone is set). See below for creating additional schedules in other timezones.
- Content & Localizations: enter the title, body text, image URL, actions, or any custom key-values to include in the broadcast package.
Adding Basic Information
Section titled “Adding Basic Information”Each broadcast requires a name. This name is only for internal use within LootLocker and doesn't get included in the API response.
Selecting Target Games
Section titled “Selecting Target Games”Use the dropdown and search bar to select one or more games that this broadcast will target.
Adding Player Segments
Section titled “Adding Player Segments”Player Segments let you target Broadcasts to specific groups of players based on their behavior, activity, or platform usage. To view a Broadcast, a player must qualify for all conditions within a single Segment. If multiple Segments are added to a Broadcast, they're evaluated as an OR condition — a player only needs to qualify for one of the attached Segments to receive the Broadcast message.
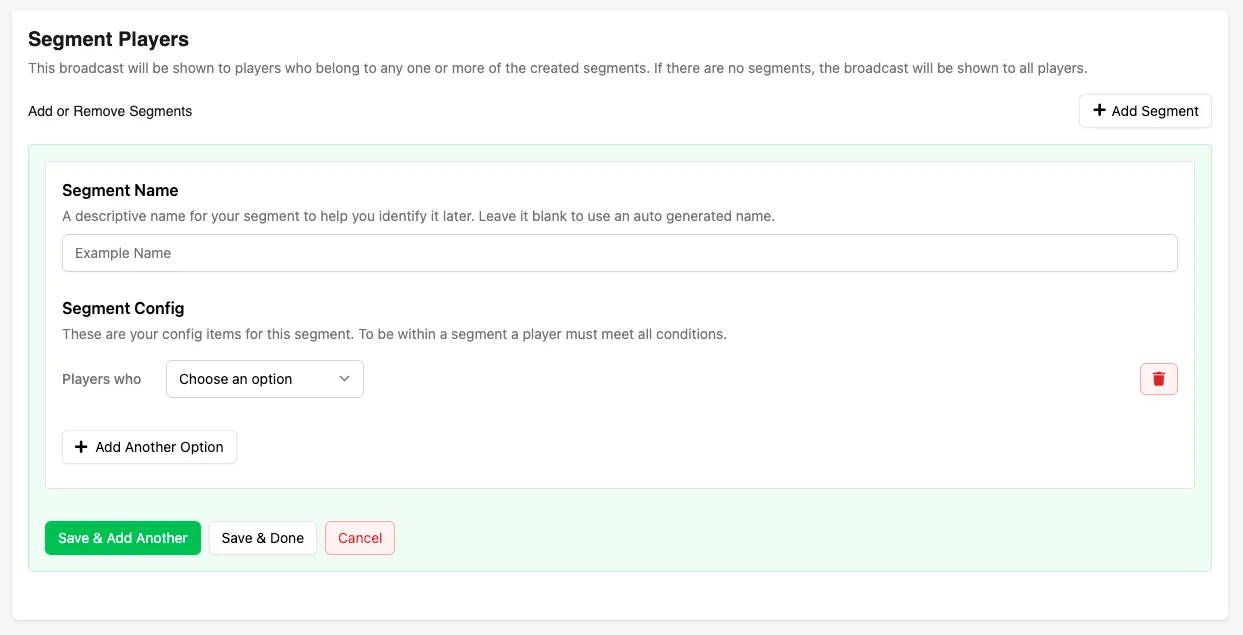
To add a Segment, click Add Segment. Learn more about configuring Segments in the Segments documentation.
Managing Publication Settings
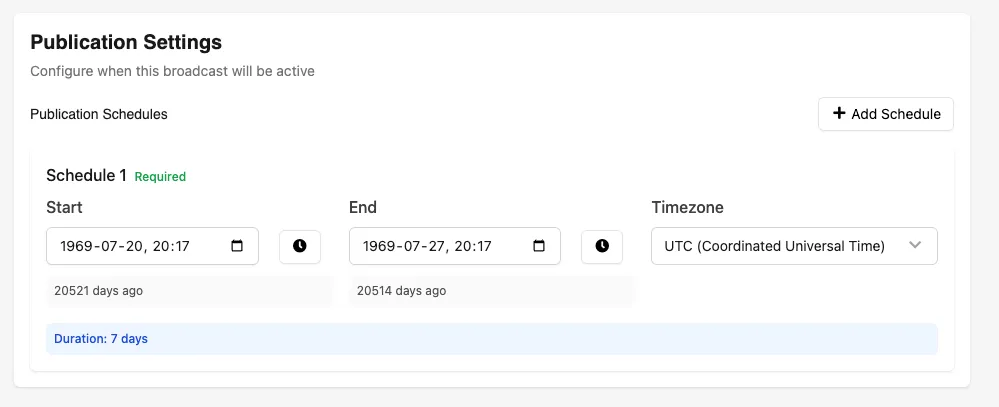
Section titled “Managing Publication Settings”Click Add Schedule to create additional schedules with start, end, and timezone settings. Enter a start and (optionally) end time for when your broadcast will be live. Use the quick time presets to populate a start time and an end time relative to the start time.
Click the red Delete button to remove a schedule.
Note: at least one schedule in UTC must always be defined.
Adding Content & Additional Languages
Section titled “Adding Content & Additional Languages”Each broadcast contains the content sent to the game. English is required by default, but you can add as many additional languages as you need. See Managing Languages below.
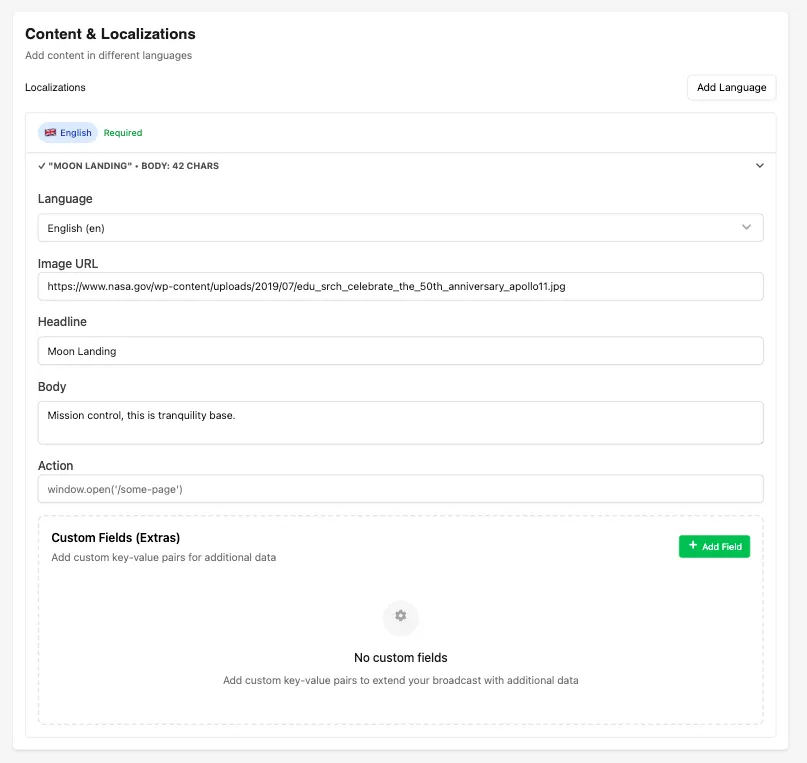
Fields include:
- Language (Required): the language of the content.
- Image URL: a link to an image displayed with the broadcast.
- Headline (Required): title of the broadcast.
- Body (Required): main text of the broadcast.
- Action: an associated action triggered with the broadcast.
- Custom Fields: optional key–value pairs for additional data. See Managing Custom Fields below.
When ready, click Create Broadcast to save.
Managing Languages
Section titled “Managing Languages”Click Add Language to create a new language entry. Each language includes its own set of content fields. Use the Delete button to remove a language.
Managing Custom Fields
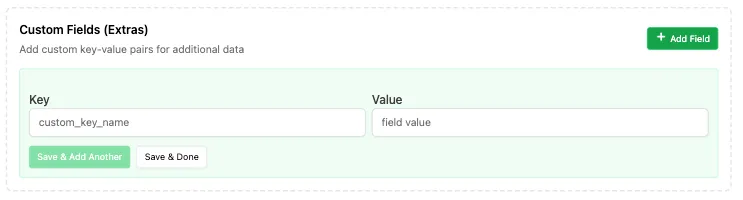
Section titled “Managing Custom Fields”Attach custom key–value pairs to any broadcast. Click Add Field to create a new pair, enter the key and value, then click Add Field again to save.
Discord Settings
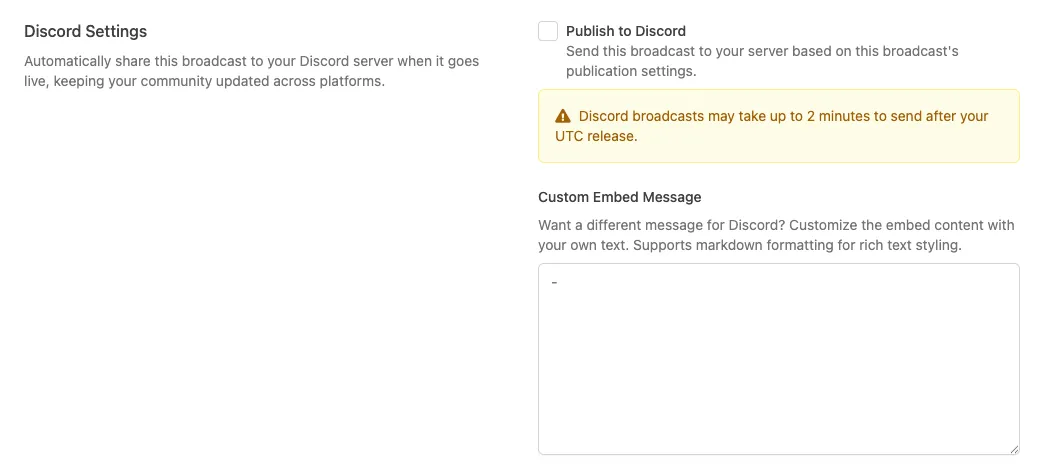
Section titled “Discord Settings”Broadcasts can also be pushed to a Discord server using the Discord Bot Squire.
Check the Publish to Discord option to publish this broadcast to the configured Discord channel at the earliest publication schedule. Use the Custom Embed Message field to enter different copy to publish to Discord.
Editing a Broadcast
Section titled “Editing a Broadcast”To edit an existing broadcast, click Edit in the Broadcast menu.
Target Games
Section titled “Target Games”Click Edit Games, update the game list, and click Save Changes.

Publication Schedules
Section titled “Publication Schedules”Click Edit Schedules, make your changes, and click Save Changes.
Content & Languages
Section titled “Content & Languages”This section lists all created languages and the number of content fields in each.
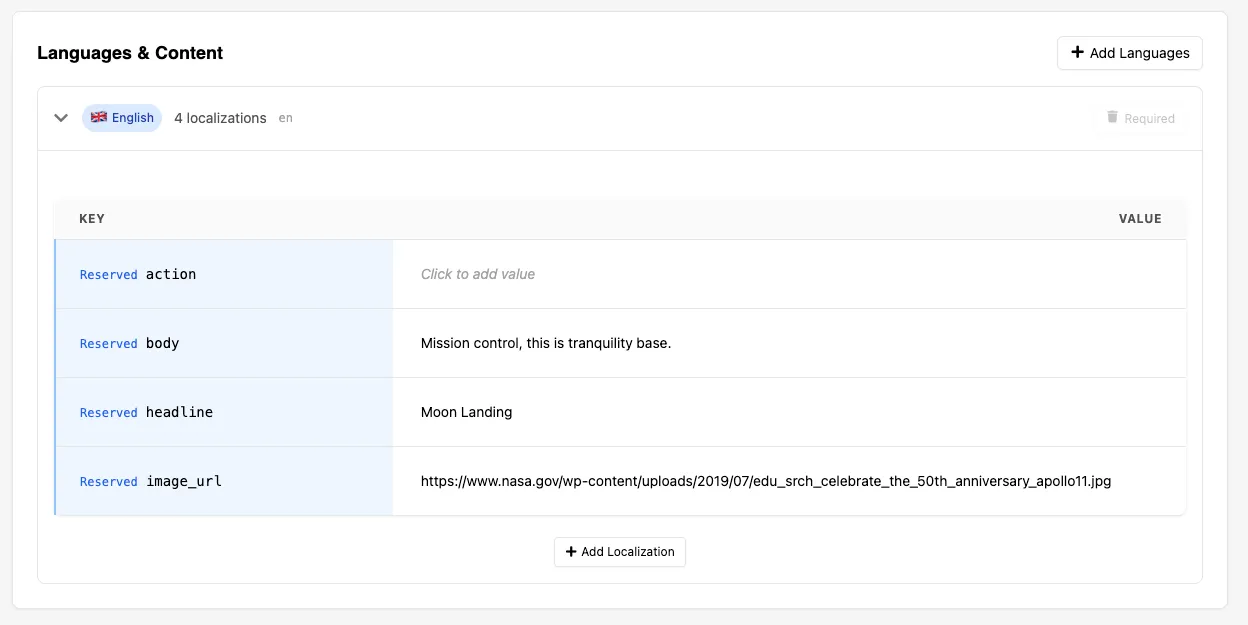
Click a language to expand its content. You can edit any key or value directly, though system keys (marked Reserved) can't be edited. Use Add Localization to add new key–value fields to a language, or Add Languages to add an entirely new language, then click Save New Languages.
Bulk Actions
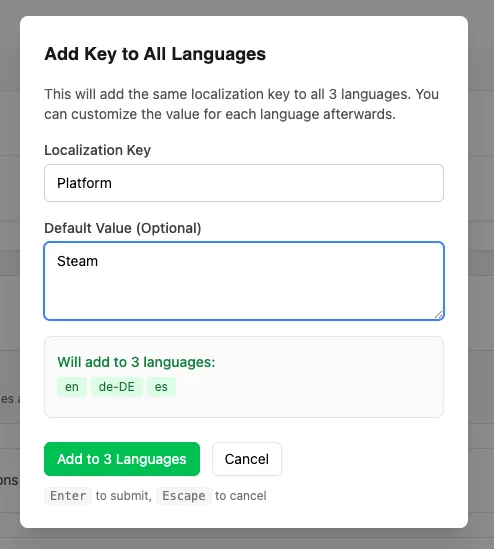
Section titled “Bulk Actions”If you have more than one language, use Add Key to All Languages to add a key-value pair across all languages at once.
Conclusion
Section titled “Conclusion”You've created a broadcast that targets one or more games, has multiple publication times, and supports several languages. Next, list broadcasts in your game.