
This how-to creates a Drop Table Asset in the Web Console, using a boss loot table modeled on Ragnaros from World of Warcraft as an example. A Drop Table uses weighted drop groups populated with Assets — when the table is computed, LootLocker selects Assets from each group based on the group's weight, forced-selection setting, and drop count.
When you kill Ragnaros in Molten Core, he drops loot based on a predefined drop table the game designers populated: 2 pairs of "Tier 2 Pants" every time, a few other epic and rare items, some currency, and a very small chance at one of two Legendary items. Here's how to set that up in LootLocker.
Prerequisites
Section titled “Prerequisites”- One or more Assets already created to populate the Drop Table's drop groups (see Create & Configure an Asset).
Configure a Drop Table Context
Section titled “Configure a Drop Table Context”To set this up in LootLocker, first create the Drop Table Context. Contexts are a way to group and describe Assets. All Assets must have an assigned Context, as it lets your game know what type of Asset it is, and tells LootLocker what sort of information or logic will be stored in the Asset and any special relationships it should have, for example with Character Classes and Default Loadouts.
Open Content Management in the sidebar of the Web Console, select Assets, then open the Contexts tab. You should be taken to a menu that looks like this.

To create a new Context, click the Add Context button. Since you want to create a Drop Table Asset, select Drop Table from the Complexity dropdown menu.
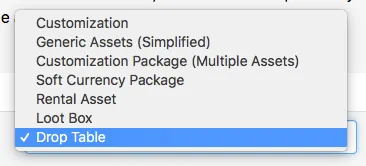
Next, fill in the rest of the information about the Context. A detailed explanation about each of the Context options can be found here.
- Name: Drop Table
- Friendly Name: (can leave this blank if the Friendly Name is the same as the Name)
- Detachable?: No
- User Facing?: No
- Depends On: Independent (No Asset)
Click Save Contexts to save this Context. It should now look like this:

Create the Drop Table Asset
Section titled “Create the Drop Table Asset”Navigate to the Asset Manager to create the Drop Table Asset that will be used to select which Assets are dropped by Ragnaros. The Asset Manager can be accessed by clicking the Content button in the left sidebar of the Web Console and selecting Assets.

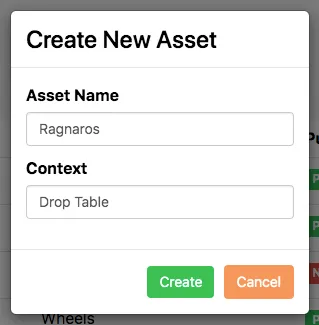
To create an Asset, click the Add Asset button in the top right corner of the Asset Manager. Fill in Ragnaros as the Asset Name and select the Drop Table Context from the dropdown menu. Click Create to create the Asset.
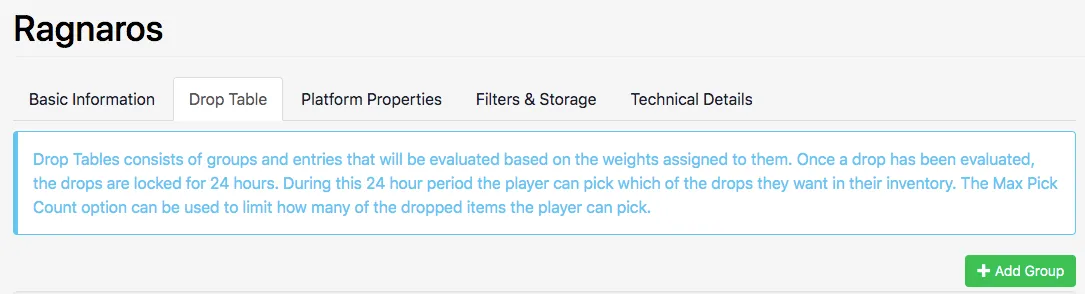
Once the Asset has been created, you're taken to the Asset's page, where you can see all of its stored information and data. The most important fields when setting up a Drop Table are in the Drop Table tab at the top of the Asset's page. This is where you define the content of the Drop Table by creating drop groups, then assigning those groups weighting and Assets to be dropped.
Configure Drop Groups
Section titled “Configure Drop Groups”Click Add Group to create a new drop group. In total, this example creates six drop groups, each containing a different group of Assets and settings related to the ultimate outcome you're looking to achieve. Here's a brief description of the fields in the Drop Groups, followed by details for each group.
- Force Select / Weight lets you indicate if the group is guaranteed to be selected when LootLocker computes the Asset, or what rarity weight it should have.
- Drop Count lets you set the minimum and maximum number of Assets that will be selected from that group. Numbers in between the minimum and maximum are randomly selected.
- Tags can be used when computing the Drop Table to indicate if a group should be considered or not.
- Assets are the contents of the group and can be added by clicking the Add Asset button. In a drop group, each Asset also has its own Force Select / Weight and Tags to allow both macro and micro control over the specific outcome of the Drop Table.
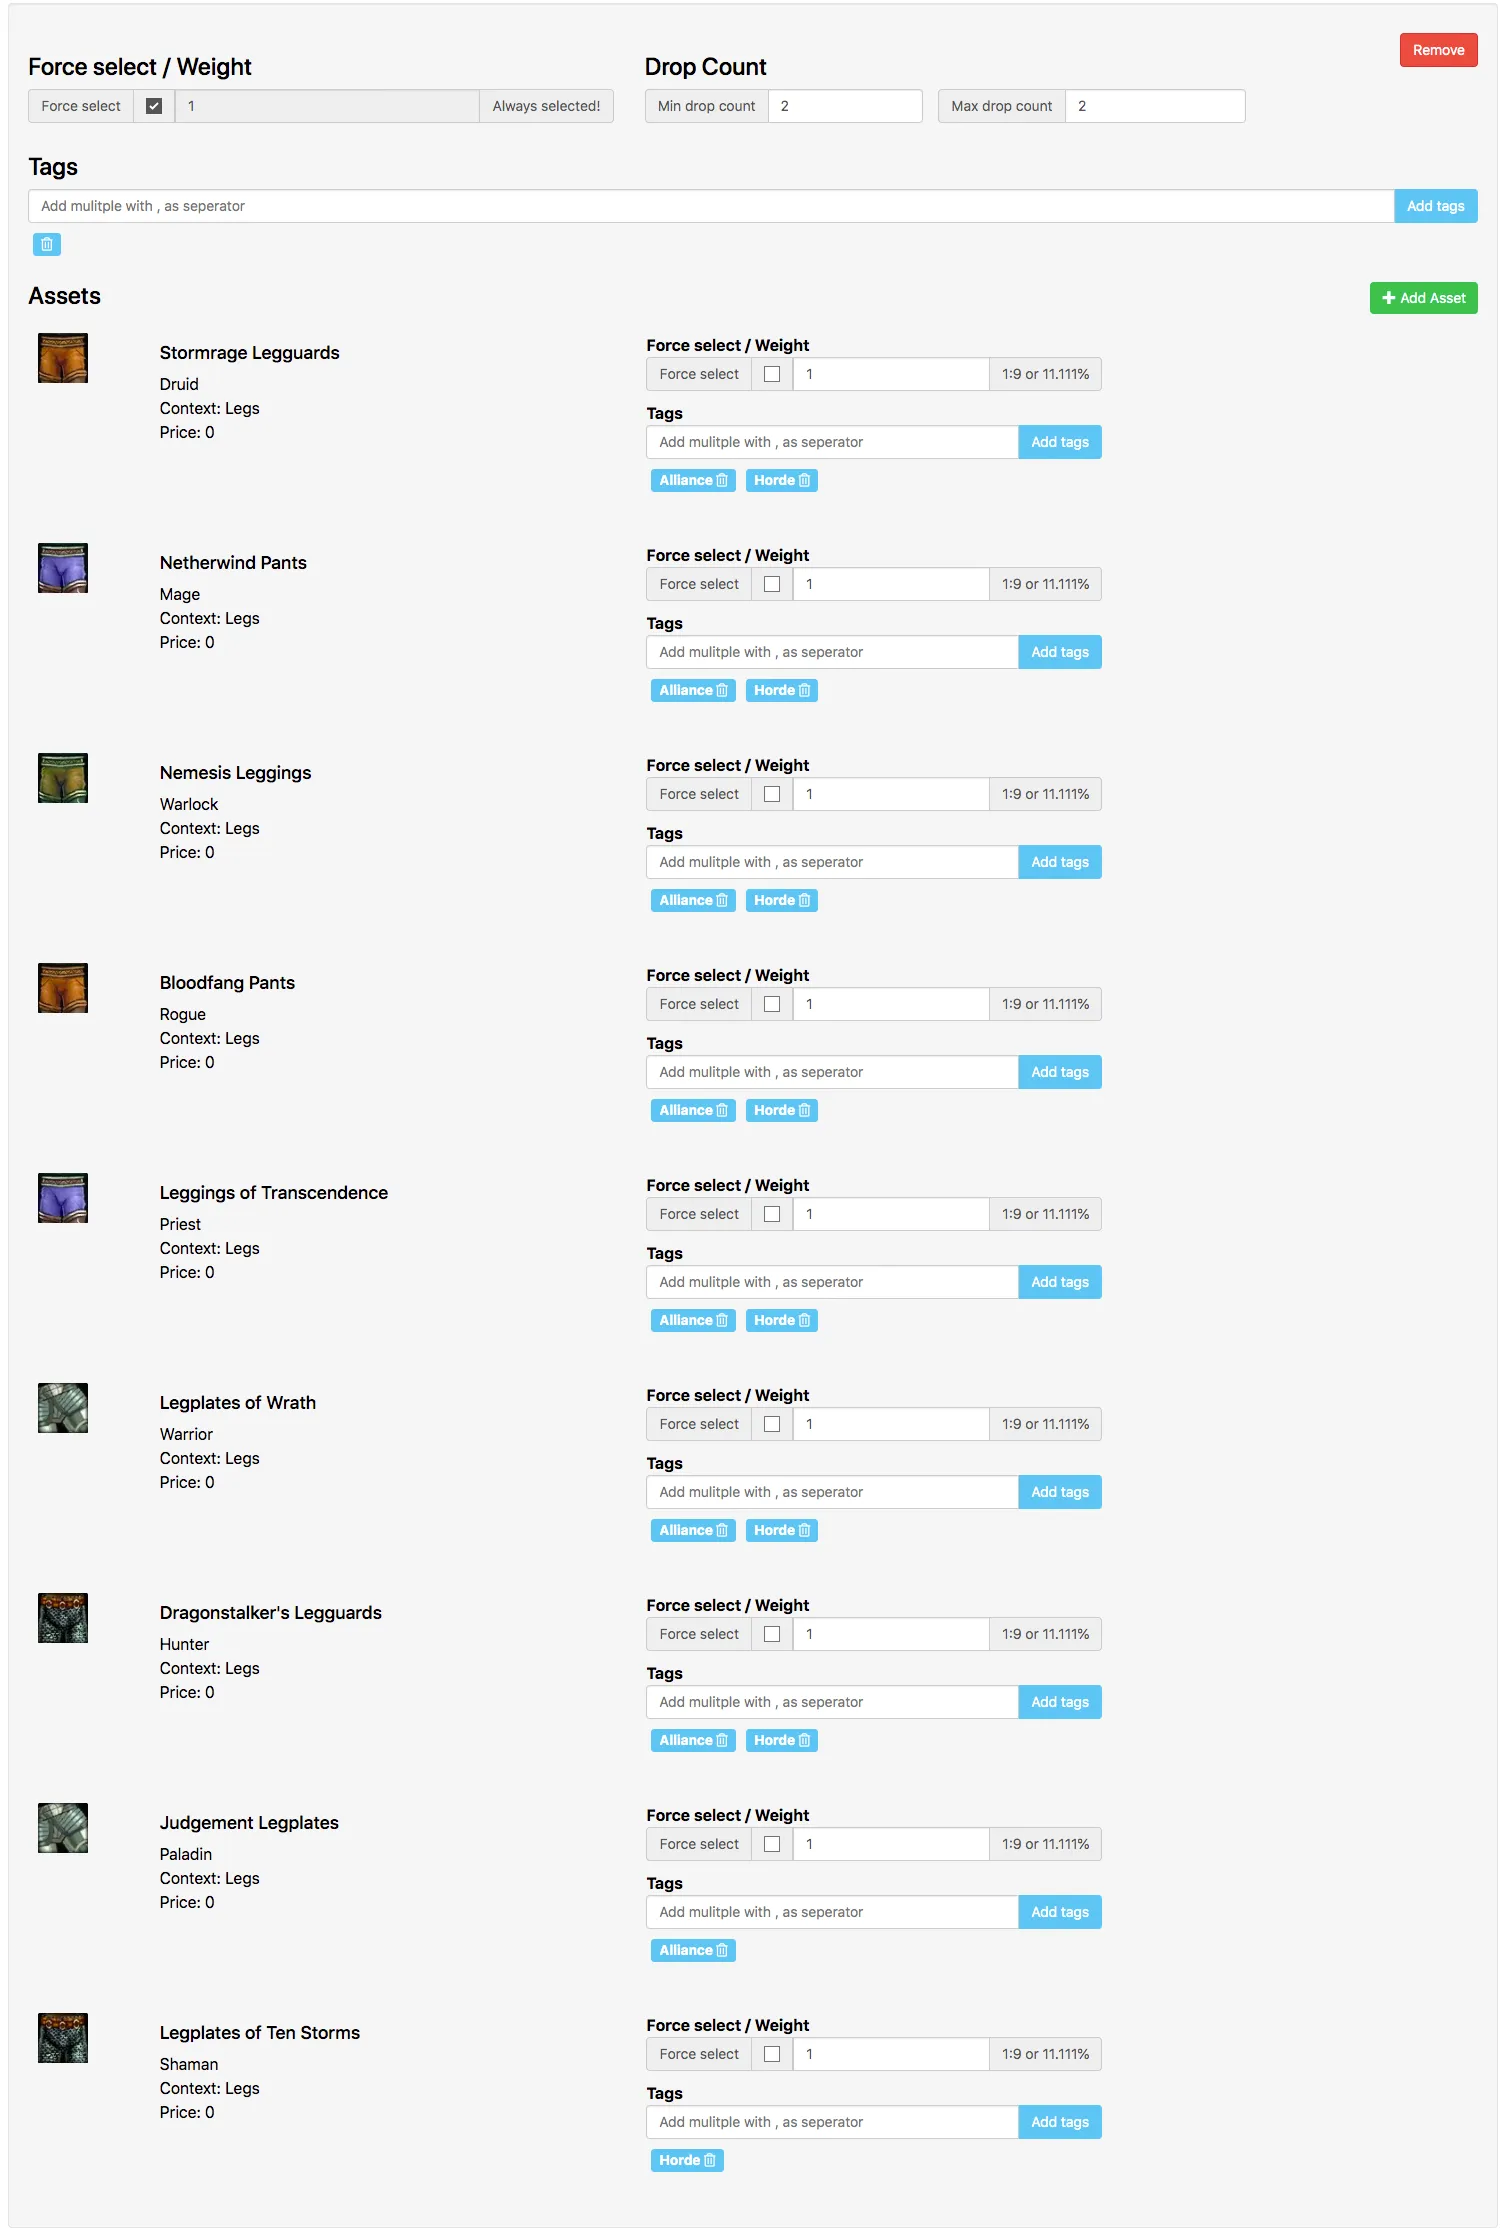
The first group is for the "Tier 2 Pants". This group has Force Select enabled and a Drop Count minimum and maximum both set to 2. This ensures that this group is always selected and that 2 Assets always drop from it. Add all 9 "Tier 2 Pants" Assets to the group by clicking the Add Asset button, leaving their Weight as 1 by default since you want all of the Assets to have an equal chance of dropping.
Since World of Warcraft has two Faction-specific classes, Paladins and Shamans, you also need to indicate to the group which Assets can drop for Alliance and Horde Players by adding Alliance and Horde Tags to all Assets except those for the Paladin and Shaman classes. For the Paladin Asset, add only the Alliance tag, and for the Shaman Asset, add only the Horde tag. The setup should look like this.
Here's a summary of how all of the groups should look, with a short description of why each is set up that way.
This group is always selected, drops 2 Assets, and excludes the Paladin Asset if a Horde Player is playing, and the Shaman Asset if an Alliance Player is playing.
| Group 1 (Tier 2 Pants Assets) | |
|---|---|
| Force Select / Weight | ✔ |
| Drop Count (Min / Max) | 2 / 2 |
| Tags | None |
| # of Assets | 9 |
| Asset Force Select / Weight | 1 |
| Asset Tags | Alliance, Horde |
This group is always selected and drops between 1 and 3 Assets. All of the Assets in the group have an equal chance of being selected.
| Group 2 (Random Epic Assets) | |
|---|---|
| Force Select / Weight | ✔ |
| Drop Count (Min / Max) | 1 / 3 |
| Tags | None |
| # of Assets | 11 |
| Asset Force Select / Weight | 1 |
| Asset Tags | None |
This group is always selected and drops between 1 and 5 Assets. All of the Assets in the group have an equal chance of being selected.
| Group 3 (Random Rare Assets) | |
|---|---|
| Force Select / Weight | ✔ |
| Drop Count (Min / Max) | 1 / 5 |
| Tags | None |
| # of Assets | 20 |
| Asset Force Select / Weight | 1 |
| Asset Tags | None |
This group is always selected and drops only 1 Asset. The Asset is a Currency Package and includes a fixed amount of Currency.
| Group 4 (Currency) | |
|---|---|
| Force Select / Weight | ✔ |
| Drop Count (Min / Max) | 1 / 1 |
| Tags | None |
| # of Assets | 1 |
| Asset Force Select / Weight | 1 |
| Asset Tags | None |
This group has a less than 10% chance of being selected due to its weight compared with Group 6, and drops only 1 Asset. Both Legendary Assets in the group have an equal chance of being selected.
| Group 5 (Legendary Assets) | |
|---|---|
| Force Select / Weight | 1 |
| Drop Count (Min / Max) | 1 / 1 |
| Tags | None |
| # of Assets | 2 |
| Asset Force Select / Weight | 1 |
| Asset Tags | None |
This group is empty and used to make sure Group 5 has a low chance of being selected. Setting the rarity weight to 11 means that this empty group is selected in 91.66% of cases. As it has no Assets, if it's selected, nothing is granted from it.
| Group 6 (Empty) | |
|---|---|
| Force Select / Weight | 11 |
| Drop Count (Min / Max) | 1 / 1 |
| Tags | None |
| # of Assets | 0 |
| Asset Force Select / Weight | N/A |
| Asset Tags | N/A |
With everything now set up, click the Save button at the top of the page to save all of these changes.
Activate the Asset
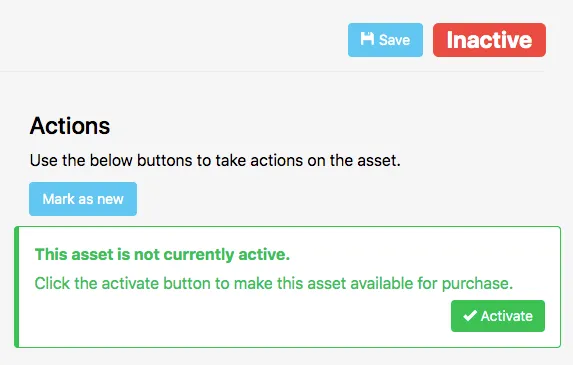
Section titled “Activate the Asset”The final step is to activate the Asset so that it's sent to the game and Players can access it. To do this, click the Activate button on the right side of the Asset menu. Clicking Activate automatically activates and saves any changes you've made to the Asset.
Conclusion
Section titled “Conclusion”You've created a Drop Table Asset with weighted drop groups. Next, use the Drop Table in your game to compute drops and grant them to Players.