
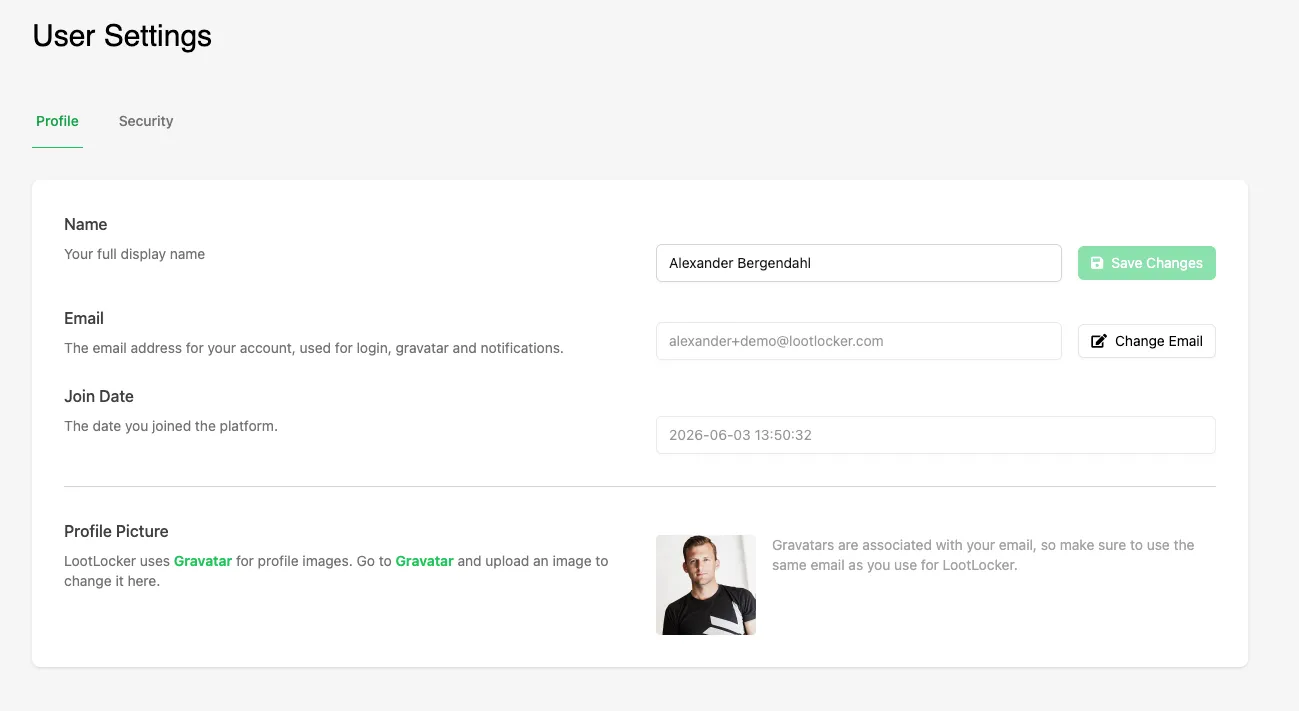
Click on your profile in the top right corner of the Web Console and select My Account to view your user settings. The Profile tab is where you edit your display name, email, and avatar, and the Security tab is where you set up Multi-Factor Authentication and passkeys.
Multi-Factor Authentication
Section titled “Multi-Factor Authentication”To set up MFA, navigate to the Security tab of your user settings and click the Multi-Factor Authentication toggle.
Follow the instructions in the pop-up modal and use Authy or Google Authenticator to scan the QR code.
Input the code your authenticator app provides to complete the setup. Once MFA is enabled, the toggle reads Enabled and a Disable MFA button appears next to it.

Passkeys
Section titled “Passkeys”Passkeys let you sign in to the Web Console with biometrics — such as Touch ID, Face ID, or Windows Hello — or with a hardware security key, instead of typing your password. They are faster than a password and can't be phished or reused across sites.
To register a passkey, navigate to the Security tab of your user settings and scroll down to the Passkeys section. Click Add passkey and follow the prompts from your browser or operating system to confirm with your biometrics or security key.

Once at least one passkey is registered, you can use it to sign in to the Web Console instead of your password.
If you lose access to your passkeys, Multi-Factor Authentication acts as your backup — sign in with your password and authenticator code as usual, then register a new passkey. Recovering an account with no passkeys and no working MFA is a manual process, so contact support for assistance.