
This how-to adds a color, image, or font to your Branding library so it can be used to style your hosted pages.
Prerequisites
Section titled “Prerequisites”- The image or font file you want to upload, if you are creating one of those types.
Open the Elements Tab
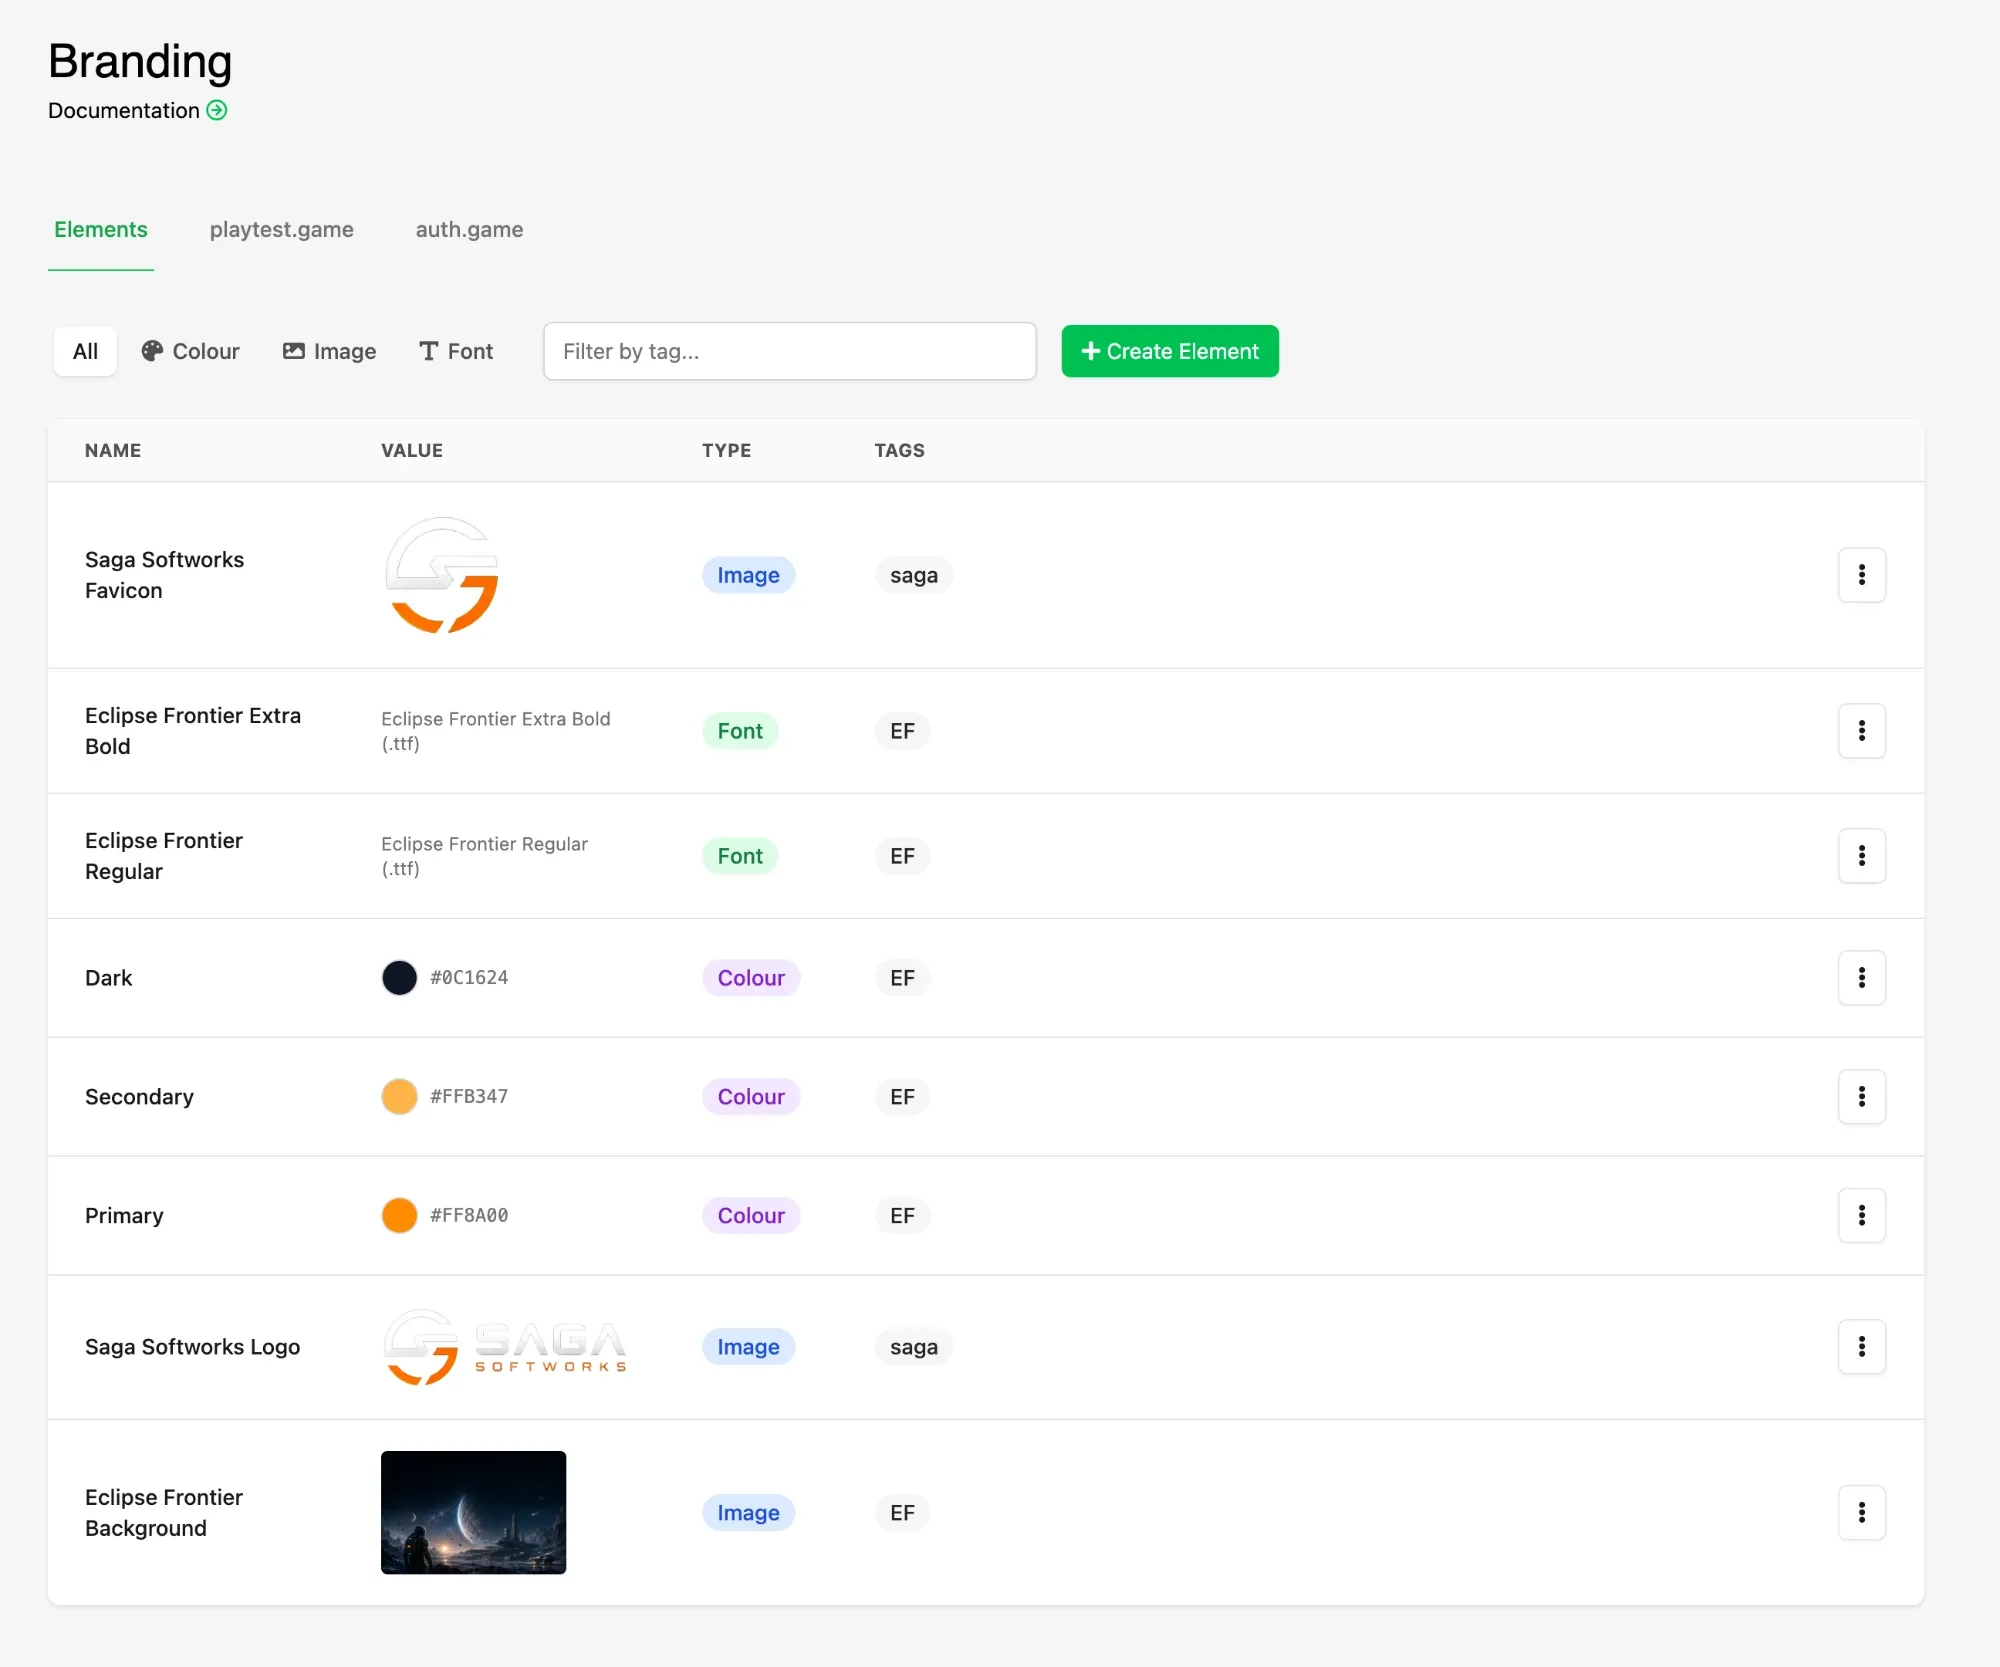
Section titled “Open the Elements Tab”Click Settings in the Web Console sidebar and open Branding, then select the Elements tab and click Create Element.
Name the Element
Section titled “Name the Element”Enter a Name. This is how the Element is listed and how it appears when you pick it on a site tab, so name it after what it is rather than where you plan to use it.
Choose the Type
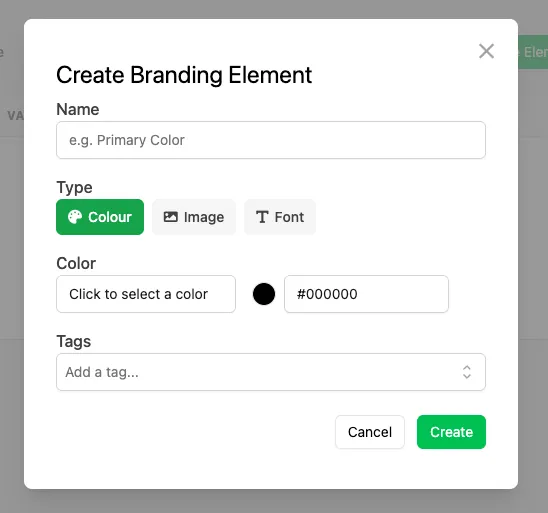
Section titled “Choose the Type”Pick one of three types. The rest of the form changes to match:
- Colour: pick a color from the picker or type its hex value.
- Image: upload the file. Images are used for logos, backgrounds and favicons.
- Font: upload the font file. Fonts are used for headings and body text.
Add Tags
Section titled “Add Tags”Tags are optional free text, and an Element can have several. They group the library rather than change how anything looks — tag a game's assets with its name, a studio-wide set with yours — and the Filter by tag… box on the Elements tab narrows the list to them.
Save the Element
Section titled “Save the Element”Click Create. The Element joins the library and is immediately available on the playtest.game and auth.game tabs.
Manage an Existing Element
Section titled “Manage an Existing Element”Editing an Element changes it everywhere it is used, and the change goes live straight away — updating a hex value repaints every page using that color. Deleting one drops it from any site using it, and that slot reverts to its default styling.
Conclusion
Section titled “Conclusion”Your Element is in the library and ready to use. Apply it in Brand Your Playtest Onboarding Page or Brand Your Sign-In Page.